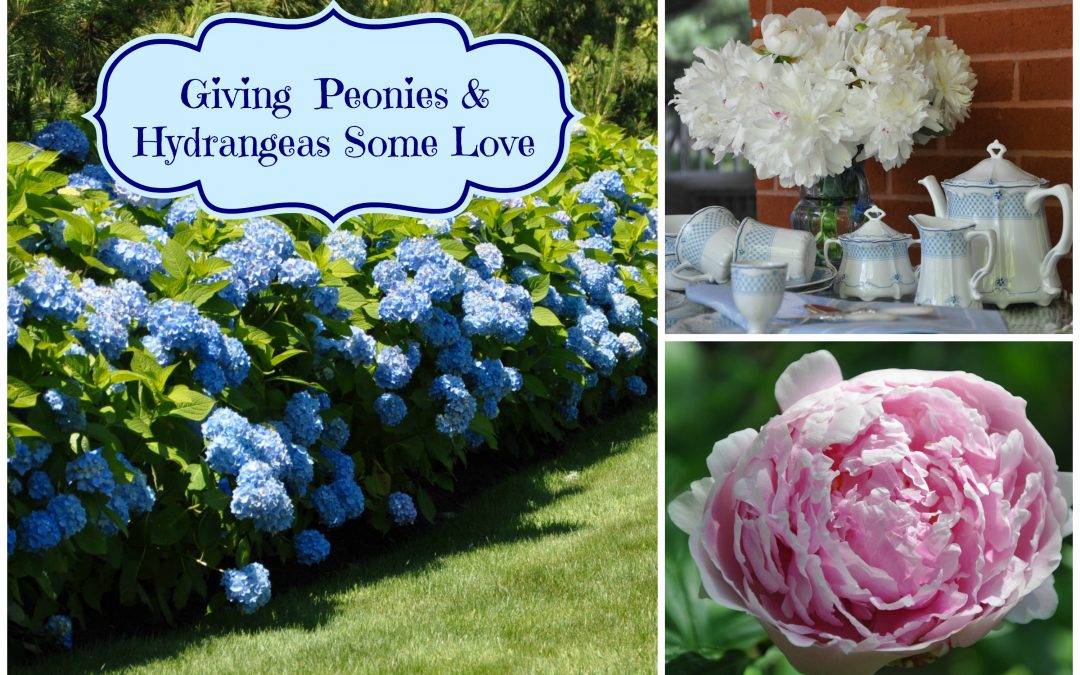
The peonies are coming! The buds are just on the edge of bursting into bloom in the garden and I can’t wait. It’s such a short season, I want to cherish every minute of it.
-

- Pink and White peonies together
-

- Fluffy Pink and White
-

- M. Jules Elie peony
-

- White peonies are so elegant
-

- Pink Peonies and Cobalt
-

- M. Jules Elie peony
We have about ten peony bushes in our garden in the Cape and a similar number in Canada. They’re easy to grow. The only tricky bit is getting the plant (or rhizome, if you’re planting bare-rooted) positioned at the right height, which is a bare inch or so below the surface of the soil. Too deep and they sulk, refusing to bloom. But if you get that right, once established they come up faithfully every year, abundant with fragrance and glowing with colour.

Peonies with Cobalt china and Venetian goblets

White peonies with Estelle china
Timeless Blue and White
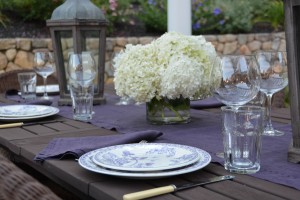
During their short season, I incorporate them into tablescapes every chance I can get. They practically arrange themselves and the fragrance is divine.

Peonies just about to burst into bloom!
If you love the double variety of peonies, as I do, you’ll need to provide them with some support or they’ll collapse to the ground in a heavy rain shower. I’ve tried a variety of methods, and find that a combination of a half-moon peony support and some velcro garden tape is the best method. The blooms can keep their heads up without looking like they’ve been strangled in a corset.
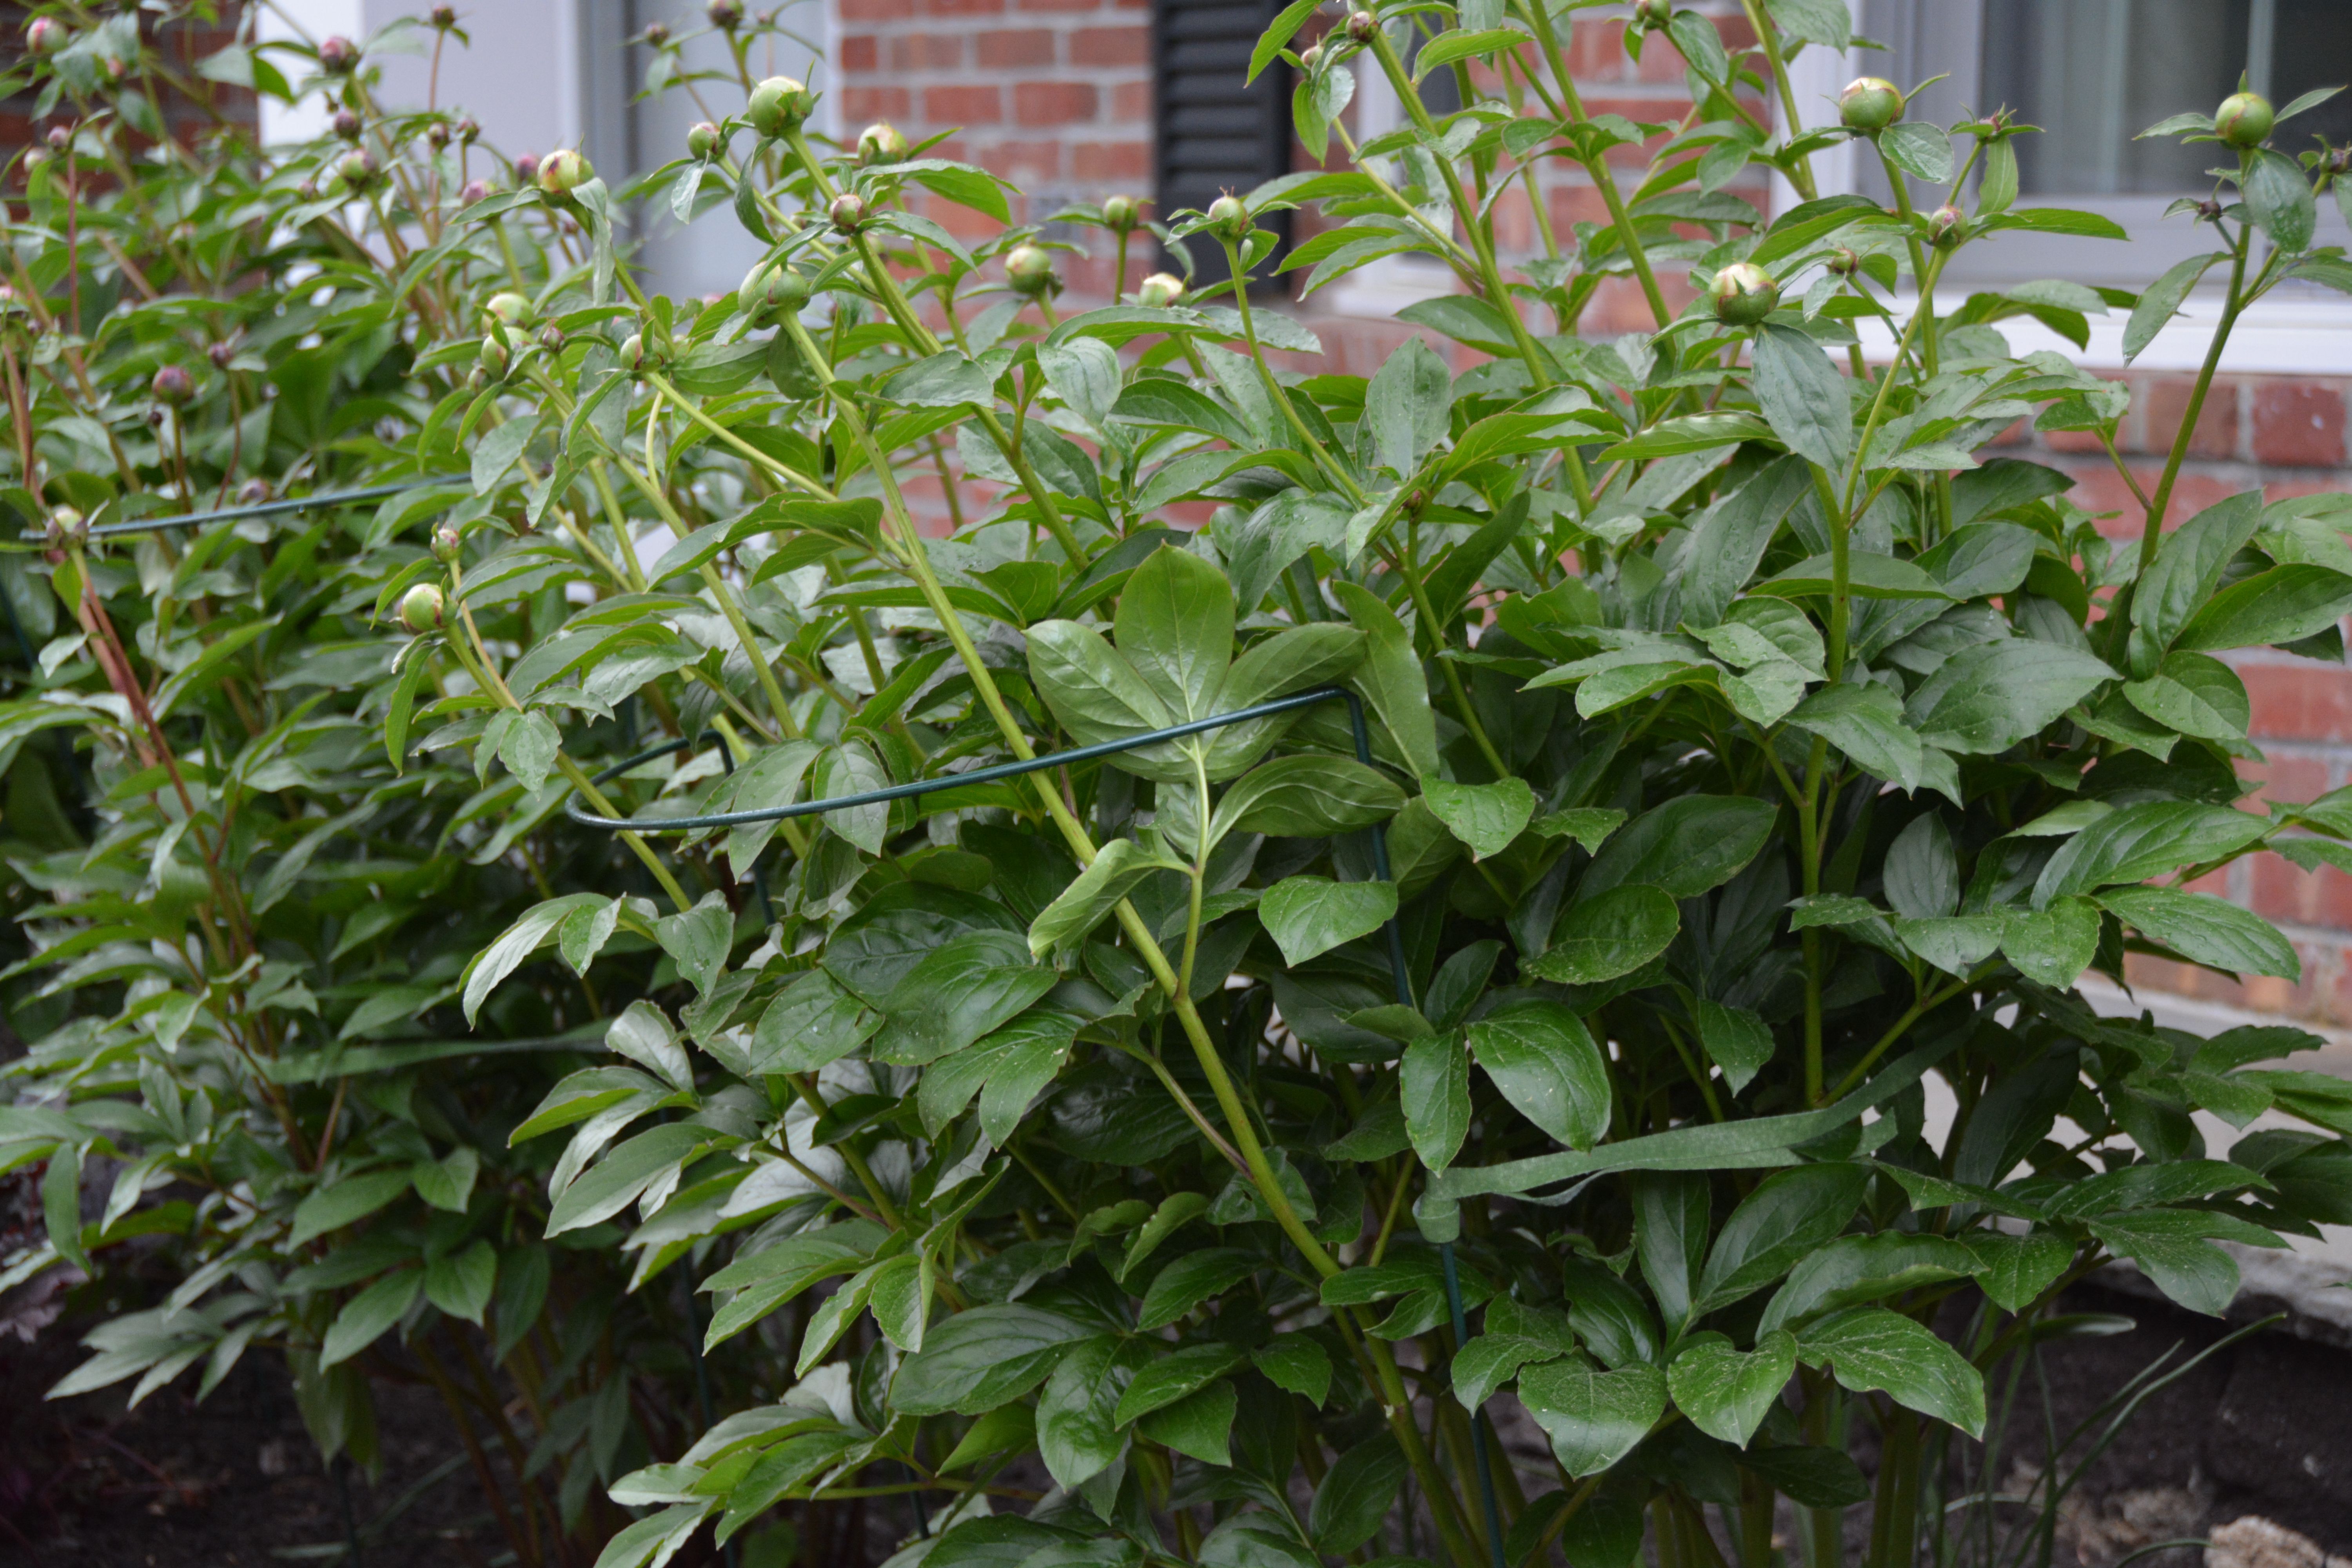
Half moon peony rings and some Velcro garden tape do the trick for support without being too visually intrusive.
I position the half moon at the front of the plant, pushing the two vertical rods down into the soil and then run a strip of the velcro tape around the back of the bush, so the entire plant is encircled, gently but firmly. It only takes a few minutes, but it’s so worth it!
-

- Deep Purple Hydrangea
-
- Annabelle Hydrangea
-

- Deep purple hydrangea
-

- Red/Purple Hydrangea
-

- Endless Summer Hydrangea
The hydrangeas need a bit more time and effort. Seems fair, as they continue to bloom valiantly all summer, providing endless blossoms for centrepieces, while continuing to delight the eye in the garden.
-

- Limelight Hydrangea before pruning
-

- Limelight Hydrangea before pruning
-
- Limelight Hydrangea after pruning
-

- From ONE Hydrangea plant
-

- Limelight Hydrangea after pruning
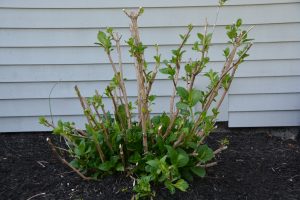
Conventional garden wisdom is you cut about one third of the plant to the ground in the autumn. I’ve never found that to be very effective. Living in the NorthEast as we do, winter die-off can be substantial, so if you’ve already removed a third of the plant, there is a lot less to work with in the spring if it’s been a bad winter.
Most of our hydrangea are the mophead variety that bloom on old (last year’s) wood or stems. If you cut off too much in the autumn you end up with very few blooms the following year. I tend to remove only the actual dead flowers in the fall, and then do most of the pruning in the spring. The downside of this is it can seem a daunting task when confronted with a lot of plants. Gulp!
Once the leaves have started to appear, you know where you are with the dead branches and can prune with confidence. A good set of pruning clippers is essential or the whole exercise is one of frustration and sore hands. Lee Valley has a great selection of excellent quality pruners, and the Felco brand are exceptional. If the branches are really thick, I employ bypass lopers. Follow the stem from the tip down to the first leaf bud. Remove any dead branch above that. If it’s dead to the ground, cut it at the ground level.

We have 27 hydrangea bushes in the Cape. I counted yesterday after we were finally finished all the clipping. Quite a pile, isn’t it?
-

- Pink Hydrangea
-

- Nikko Blue Hydrangea
-

- Endless Summer Hydrangea

But absolutely worth the effort! I’m thrilled that the most beautiful of months for the garden is upon us. Summer is almost here!
I’m sharing this post with Between Naps on the Porch and The Scoop.

I clicked on this because I’m getting ready for my twice-yearly relocation to the Alpine house. I’d never taken care of hydrangeas, but the house came with many in place, so I had to learn fast. By trial and error (mostly trial, thank heavens) I found that in a harsh climate your method is indeed best: Trim old flowers off and see where you sit in spring. We are on the valley floor at 700 mtrs, so the winters are not very cold, but it can snow at any time (including July!) so it’s best to be careful. Last year (our second) I planted 350 fancy narcissus and 10 peonies, so this spring should be beautiful. Thanks for the tips and the beautiful settings. I hope Highclere is in your future. A couple years ago OH gave me a present: stayed down the road from Highclere and attended the Goodwood Revival. If you haven’t been to that, you must try it!
Hi Beatrice! I’m so glad this was useful to you. It’s very much trial and error with hydrangea and too much clipping leaves us with no blooms (as I’ve discovered to my infinite regret…). I would loove to see pictures of all your narcissus and peonies. Are there any more beautiful flowers?? Yum!
AS to Goodwood, it’s one of my husband’s favourite haunts. We’ve done the Revival several times and also love the member’s meeting in the spring. Not only is it awash in daffodils then (Lord March planted thousands of them on the estate) it’s like a mini-Revival, with smaller crowds. Can be a bit chilly, though! So nice to meet a fellow Goodwood attendee! Thanks again for commenting. 🙂
Such lovely photos. The flowers are lovely too and you took such nice pictures of them. I have two daughters and one is a lover of hydrangeas and the other a lover of peonies.
Thanks, Lorri. It’s hard to choose between hydrangea and peonies, though I think peonies get the edge because of the amazing fragrance. Hydrangea are exuberant growers, though!