This recipe is from Glenn’s mother, who began selling these cookies to neighbours and friends when Glenn’s Dad was laid off work one year just before Christmas. The cookies proved so popular that she continued the practice, selling thousands of pounds of them every year. She started making the dough in October and freezing it, baking the cookies fresh throughout the month of December. It was quite the family endeavour, I gather, with the children pressed into service decorating the cookies every day after school for weeks.
I’ve adapted the original recipe’s hand mixing method for preparation in a food processor, and have cut the quantities in half. The original version makes a huge amount of dough.
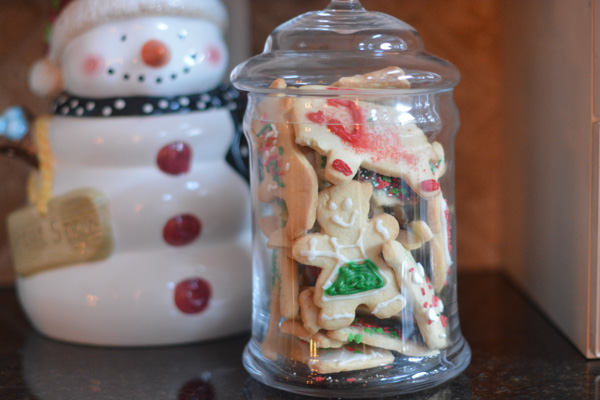
We made a batch yesterday. Three busy granddaughters and some of the parents helped out. The cookies may not be picture perfect, but the results are delicious!

Danish Butter Cookies
A lovely rich Danish Butter Cookie, perfect for decorating.
- Total Time: 1 hour 30 minutes
- Yield: 4 1x
Ingredients
- 12 oz butter, cut into 1/2” pieces.
- 1 lb all purpose flour
- 5.5 oz sugar
- 1/2 tsp baking soda
- 1/2 tsp baking powder
- 1/8 tsp salt
- 1/4 tsp vanilla
- 2 large eggs
Instructions
- Put the dry ingredients into a food processor and pulse lightly until combined. Add the butter in three batches, pulsing the mixture each time until it is crumbly. Add one of the eggs and the vanilla and pulse until a large ball forms.
- Knead the dough on a floured surface until it’s smooth and elastic (about a minute). Divide into two balls, cover and place in the fridge until chilled (at least an hour).
- Preheat the oven to 375 degrees F (350 if using convection).
- Roll out half the dough to a 1/8″ thickness on a surface dusted with flour. Cut out the shapes with cookie cutters and place on cookie sheets. Re-roll any leftover dough with some additional dough from the remaining piece.
- Before baking, brush the surfaces of the cookies with a pastry brush dipped in the second well-beaten egg (I use an emulsion whisk to beat the egg).
- Bake the cookies until lightly browned (about 12 minutes), turning and rotating the trays if necessary to ensure even browning.
Notes
- This dough freezes exceptionally well. I think it actually produces a more manageable dough and a more tender cookie.
- Prep Time: 60
- Cook Time: 30
