Christmas baking is a time honoured tradition, even among the culinary-wary. People who normally would not be caught dead brandishing a rolling pin wax nostalgic about baking with Grandma, and comment enthusiastically about how nice the house smells while gingerbread is baking.
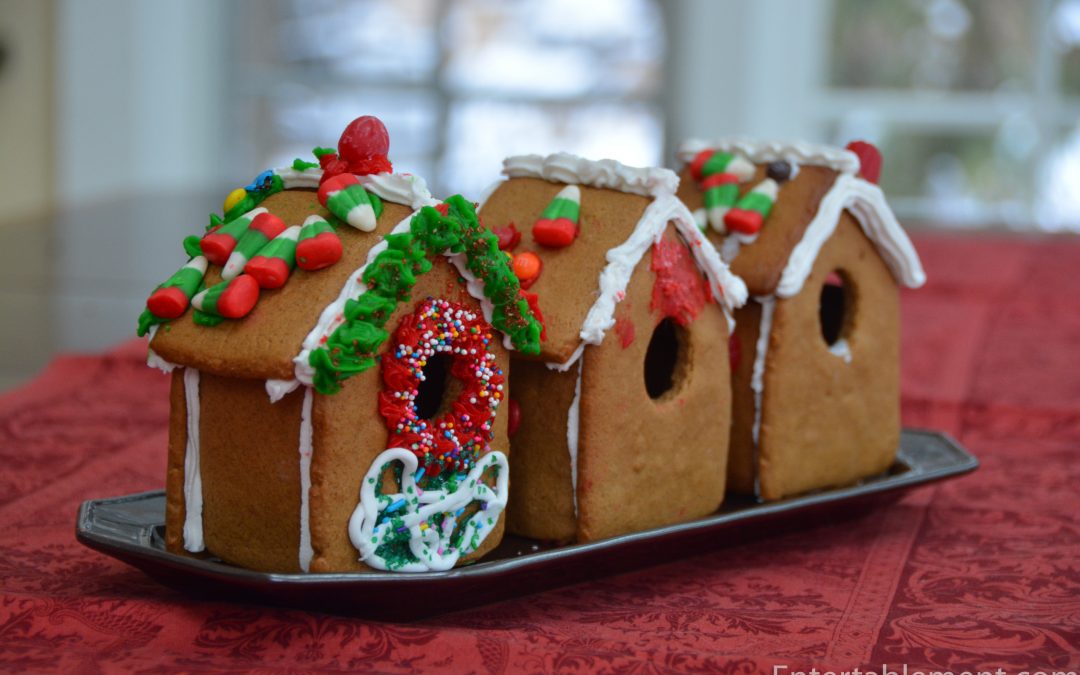
Our little ones love baking, and this year I’ve been prowling around on the internet, scouting out ways to make small gingerbread houses for us to decorate. At this age, their attention span is limited, and I decided to get the houses to the assembled stage so that all they had to do was add the sprinkles and candy bits.

A few sites were very helpful in this regard. Haniela‘s is a font of knowledge on gingerbread houses, and has many wonderful examples. She’s also terrific on tips for decorating. If you’re interested, check out her videos on YouTube. I learned a ton. The Barefoot Baker also has great videos and this is where I learned a trick to rolling the dough so you don’t end up with a mess all over the kitchen.
Three things I learned: First, use cling film top and bottom while rolling out the dough on flexible cutting mats.
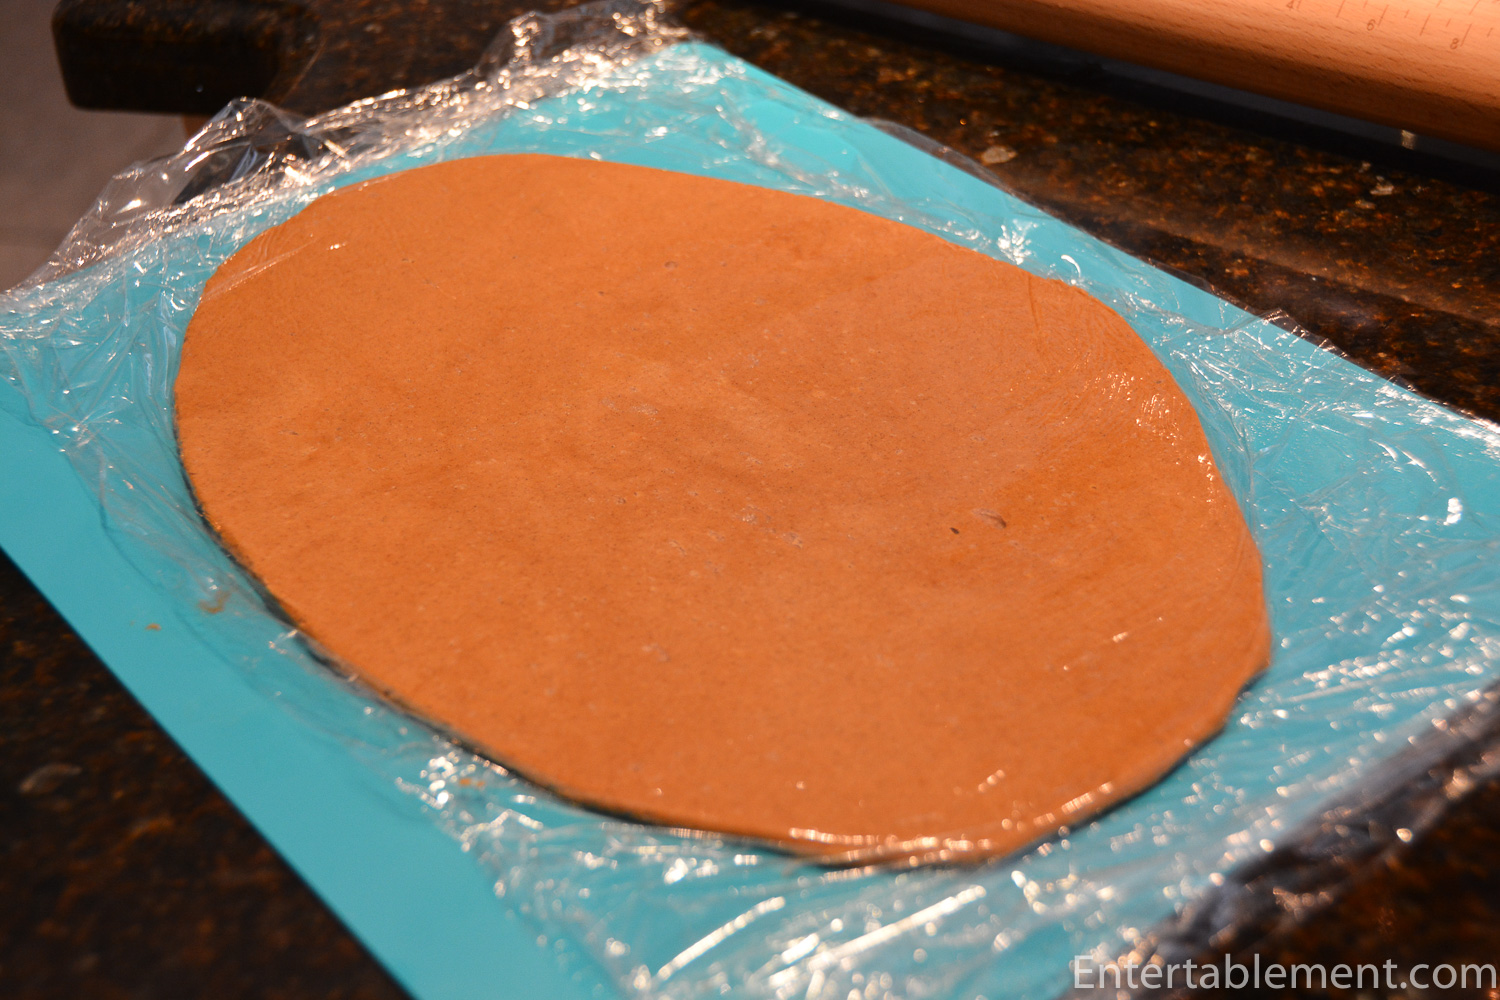
The Barefoot Baker uses clingfilm only on the top in her video, but I found with this gingerbread cookie recipe and Glenn’s Mum’s Danish Butter Cookies that a layer on the bottom was also required in order to easily release the dough from the flexible mat. One layer on the top works fine for her Sugar Cookies, though (and they’re delicious!).

Second, use a roller with height guides so you get an even thickness. Isn’t it fascinating how the simplest things make such a huge difference? This roller comes with four different discs to screw onto the end of the rolling pin, to make a variety of thicknesses of dough.
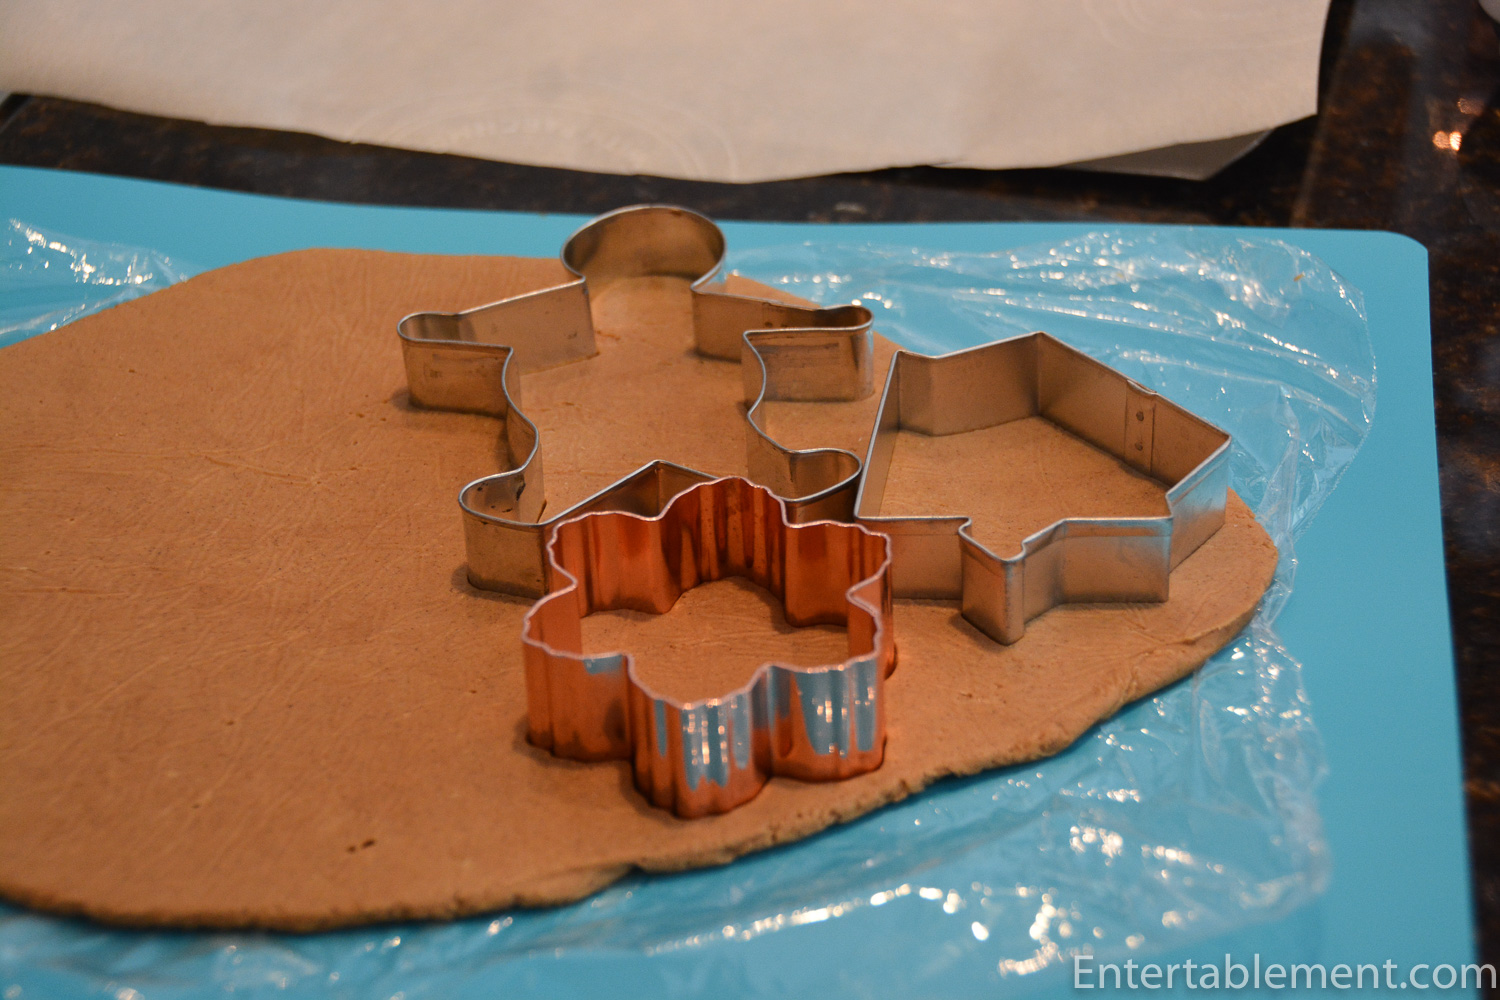
Lastly, freeze the dough for about 15 minutes before cutting it.

The shapes come out perfectly formed. Woot!
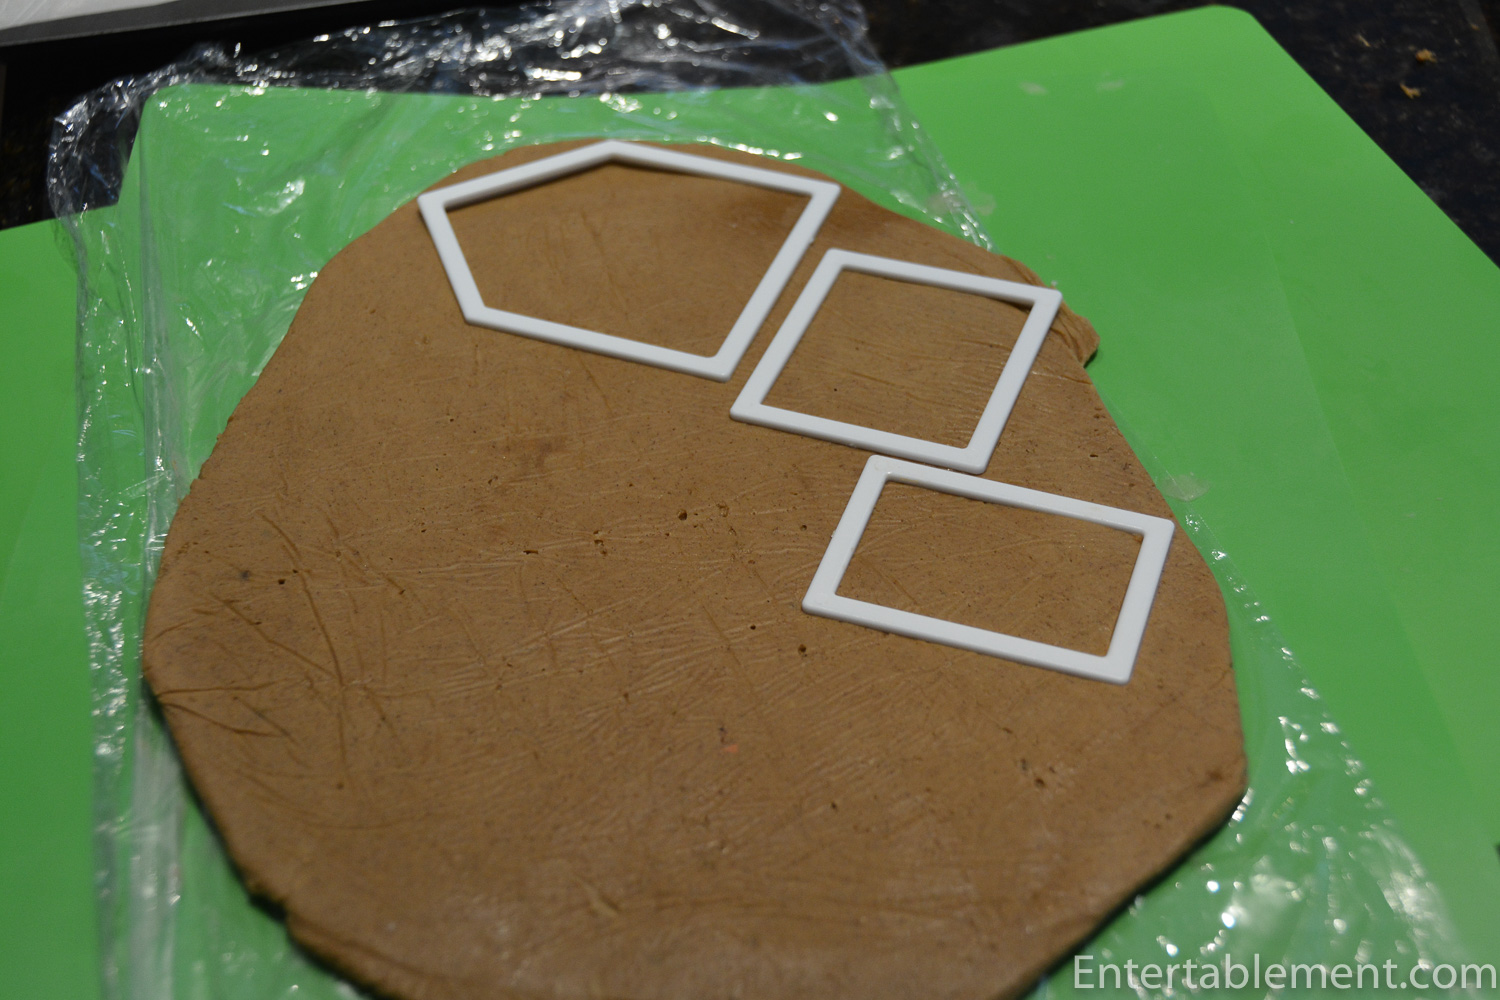
To make the little houses, I used a small gingerbread house kit . The cutters were a bit too shallow, so I’ll look for a better set, but they did the trick for this application. This one looks better. You need to cut a front & back, two sides and two roof pieces for each house. I cut a small round hole in the front piece, so these are little bird houses, but you can cut a door instead, if you prefer.

I baked them according to the recipe below and assembled them using Royal Icing, recipe courtesy of Haniela.

I had baked the scraps left over from cutting out the houses, and the gingerbread was so good I mixed up another batch, and baked cut out cookies while the little girls were busy decorating their little birdhouses.
The house smelled divine. And I now have a batch of cookies ready to decorate sometime later this week. I also cut out a larger birdhouse using this template to try my hand at decorating. I’ll keep you posted on how that goes.
To make the gingerbread, I modified Haniela’s recipe. To make 3D shapes, like houses, she recommends omitting any kind of leavening agent such as baking powder.

Gingerbread Cookies & Houses
A delicious crunchy gingerbread dough, suitable for cut out cookies or houses. Smells amazing while it’s baking, too!
Ingredients
- 660 g (5.5 c) all-purpose flour
- 2 tsp ground ginger
- 5 tsp cinnamon
- 1/2 tsp allspice
- 1 tsp baking powder (leave this out if you’re making 3D pieces such as gingerbread houses)
- 2 large eggs
- 8 oz (1 c) unsalted butter, at room temperature
- 100 g (1/2 c) granulated sugar
- 100 g (1/2 c, packed) brown sugar
- 170 g (1/2 c) honey
- 170 g (1/2 c) molasses
Instructions
- In a medium bowl whisk together the flour and spices. Set aside.
- In a stand mixer, using the paddle attachment, cream together the butter and sugars on low-medium speed until the mixture is light and fluffy (about 5 minutes).
- Add the eggs, honey and molasses and mix on low-medium until smooth (about 3 minutes).
- Add the flour mixture in two batches, mixing on low speed, until well combined (about two minutes).
- Turn the dough onto a work surface and knead briefly, until it comes together completely. Separate the dough into four pieces, and form each piece into a ball.
- Place a sheet of cling film on a flexible cutting mat. Add one ball of dough and cover with another sheet of cling film. Using your hands, press the dough down into a circle about 1″ thickness. Using a rolling pin with height guides, gently roll to to 1/4″ thickness. Freeze for approximately 15 minutes before attempting to cut out the shapes.
- Repeat with the remaining pieces of dough, gathering the scraps together to re-roll and cut. Because you’re not adding a bunch of flour as you go, you can go right to the bitter end and roll out all the dough into shapes. Bonus!
- Bake at 350 F for 9-12 minutes.
- Cool the cookies completely before decorating.
Notes
- Note – the baking time will differ depending on the size of the shapes and the thickness of the dough. You might want to bake larger pieces all on one tray and smaller pieces on another, as they will bake at different speeds.
I’m sharing this post with Between Naps on the Porch

What a cute idea. i have a gingerbread house board on pinterest and have been pinning to it like crazy, but have yet to actually try making one. What a great project to do with grandchildren. Wonderful memories for all of you I am sure. I will have to check out the links in your post.
They’re less intimidating than they look, Lorri! Just have at it and have fun 🙂
Is this recipe spicy? We like our houses a bit on the spicy side.
If you like yours a bit spicier Phani, I’d increase the amount of spice in this recipe. These are moderately spicy.