
Which came first, the tree plates or the tree cake? That is the question.

The plates were very appealing with clean lines with bold depictions of the iconic Christmas fir tree. Their modern, understated design has a lovely blue spruce tone for the tress. Thank you, Pier 1. (I think the plates are sold out online, but there may be some available in stores).

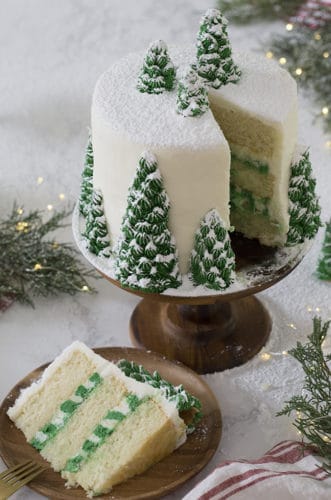
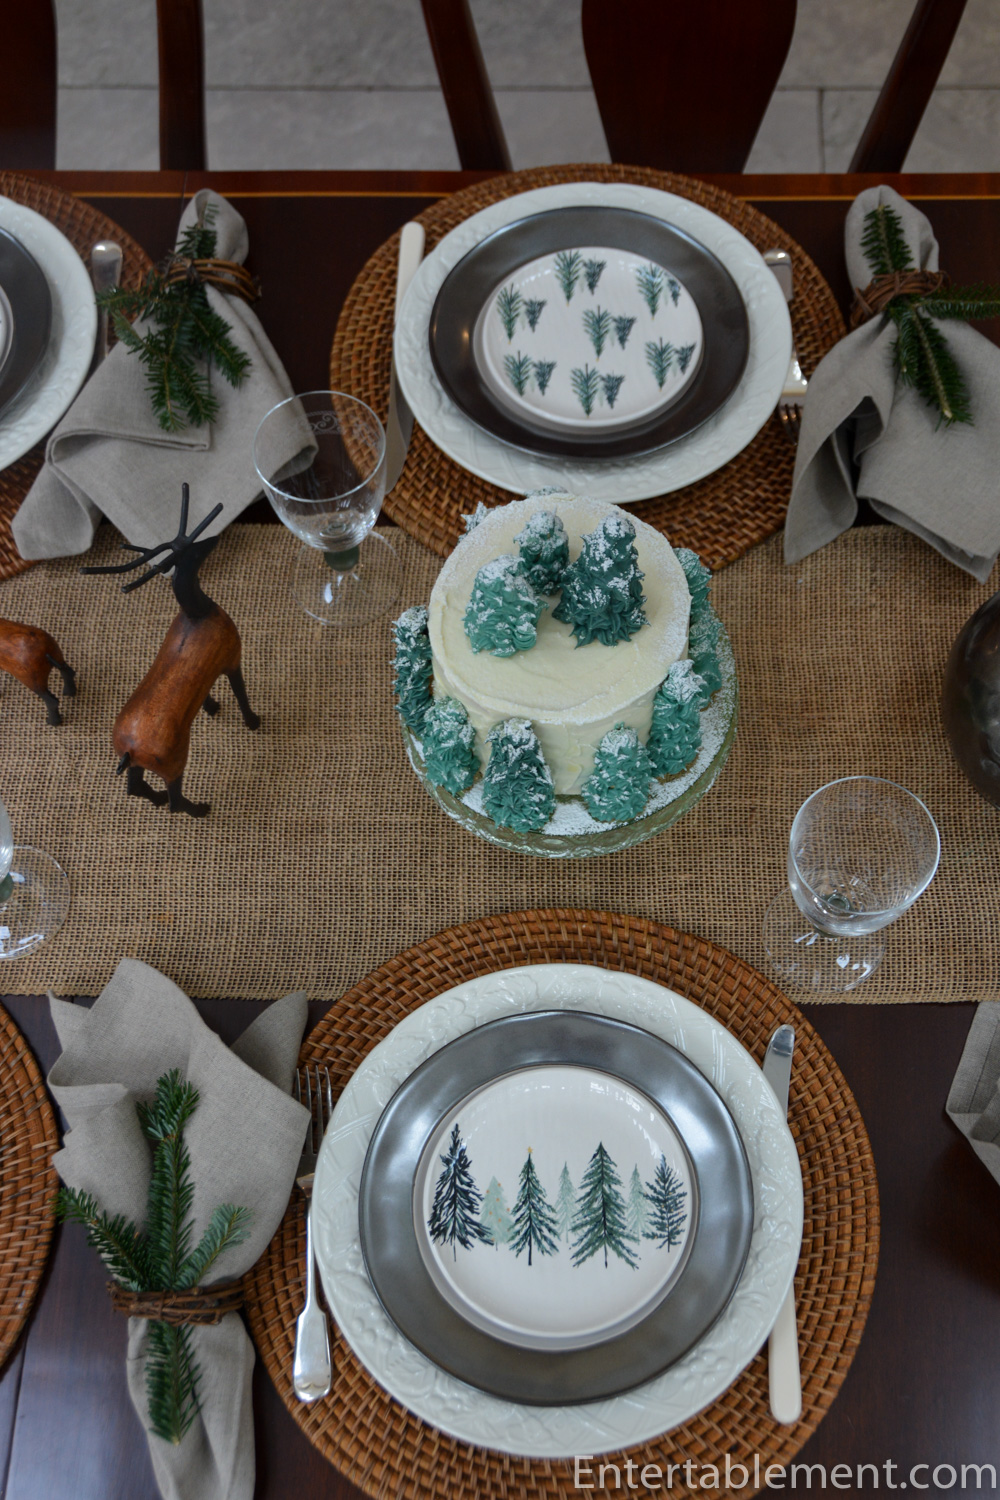
The cake, though… The cake was fun.

John over at Preppy Kitchen gets all the credit for the design and his wonderful instructions on assembly. All I did was follow the directions, with a few modifications for personal taste. Here is the picture of his cake from his website:
Note the lovely striped icing between the layers. Let’s just say that mine didn’t turn out quite as well, so I skipped photographing that part. 🙂 Things went somewhat awry on executing this spiral technique (photo below, also from his website). Uh-huh? Go ahead. You try it. not as easy as it looks, believe me. We did get some spiral action going, but it was a tad more wobbly.

Instead, let’s just admire the outside. I went with a more rustic look for the icing coating rather than the very smooth surface Preppy Kitchen’s cake sports.

I also used a cream cheese frosting in place of the traditional American Buttercream as our family finds American Buttercream to be too sweet. I used a different recipe for the cake portion, too. I’ve had very good success with Beyond Frosting’s Moist Vanilla Cupcake recipe, which I used to make the cupcakes for the Fall Wedding a year ago.

The tree cake comprises three 6″ layers and while I was at it, I wanted to make a couple of dozen cupcakes to pop in the freezer for later decoration,
Though they look intimidating, making the trees was very straightforward. Just cut some ice cream cones in half vertically and trim the bottoms to get the desired height. A serrated knife works well. The trees on the top are full cones, cut down to varying heights. I used plain old cones. The sugar ones were too crumbly.

Press them into place on the exterior of the cake and pipe green icing onto the trees with a No. 30 closed star icing tip. Sand with icing sugar shaken through a small sieve. Done.
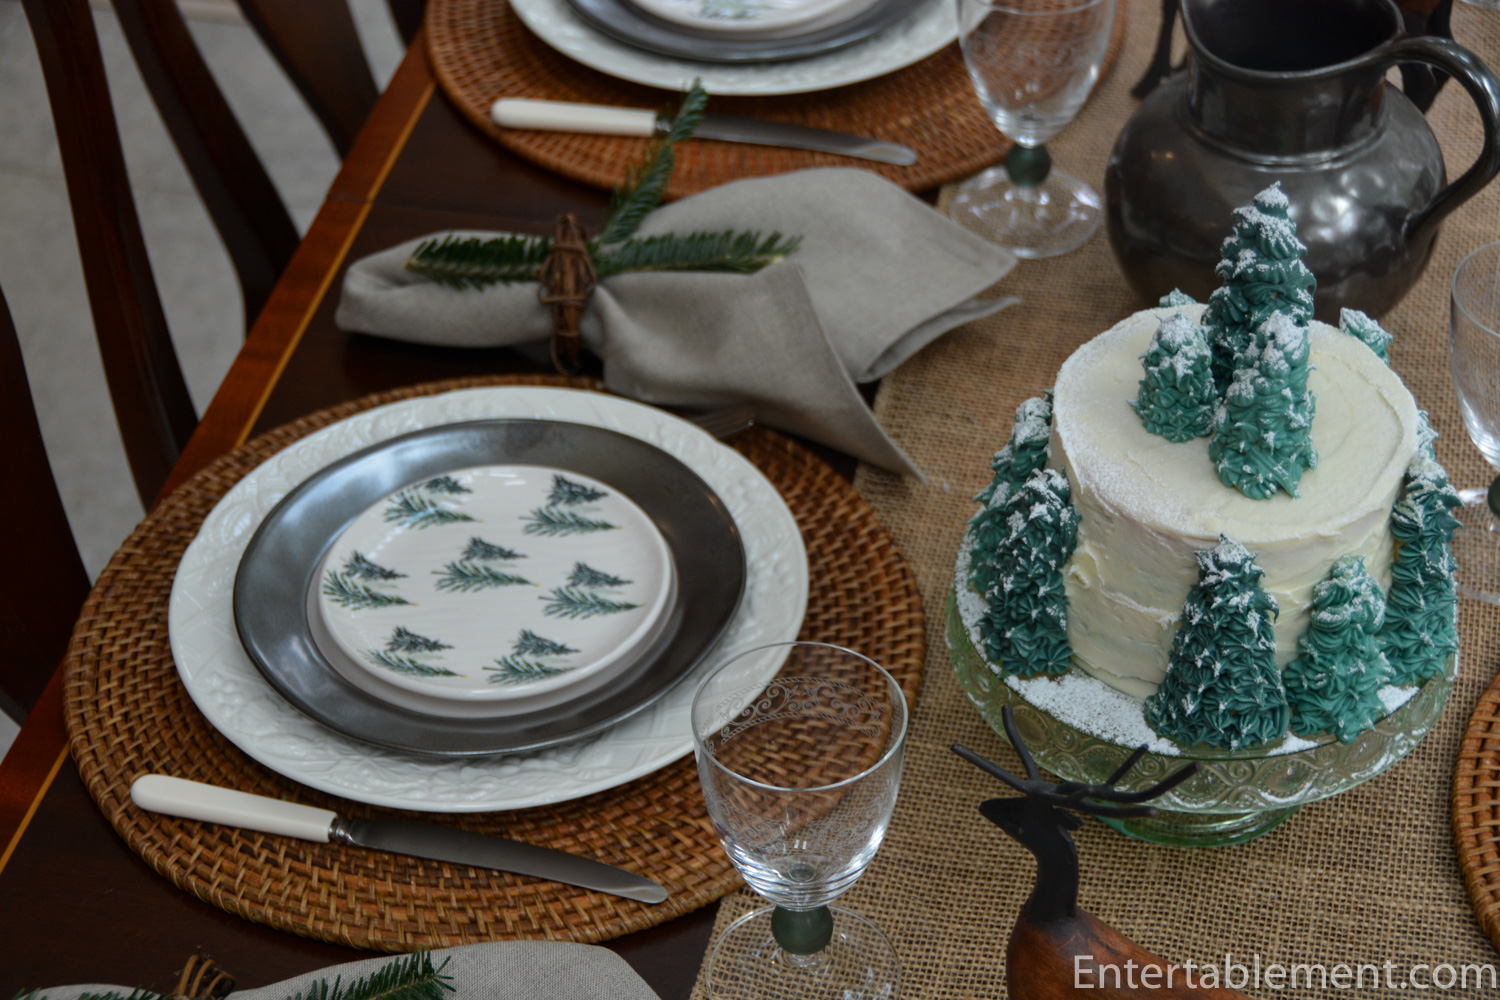
The tree appetizer plates are sitting atop Emerson Pewter Salad plates from Juliska and English Countryside dinner plates from Mikasa.
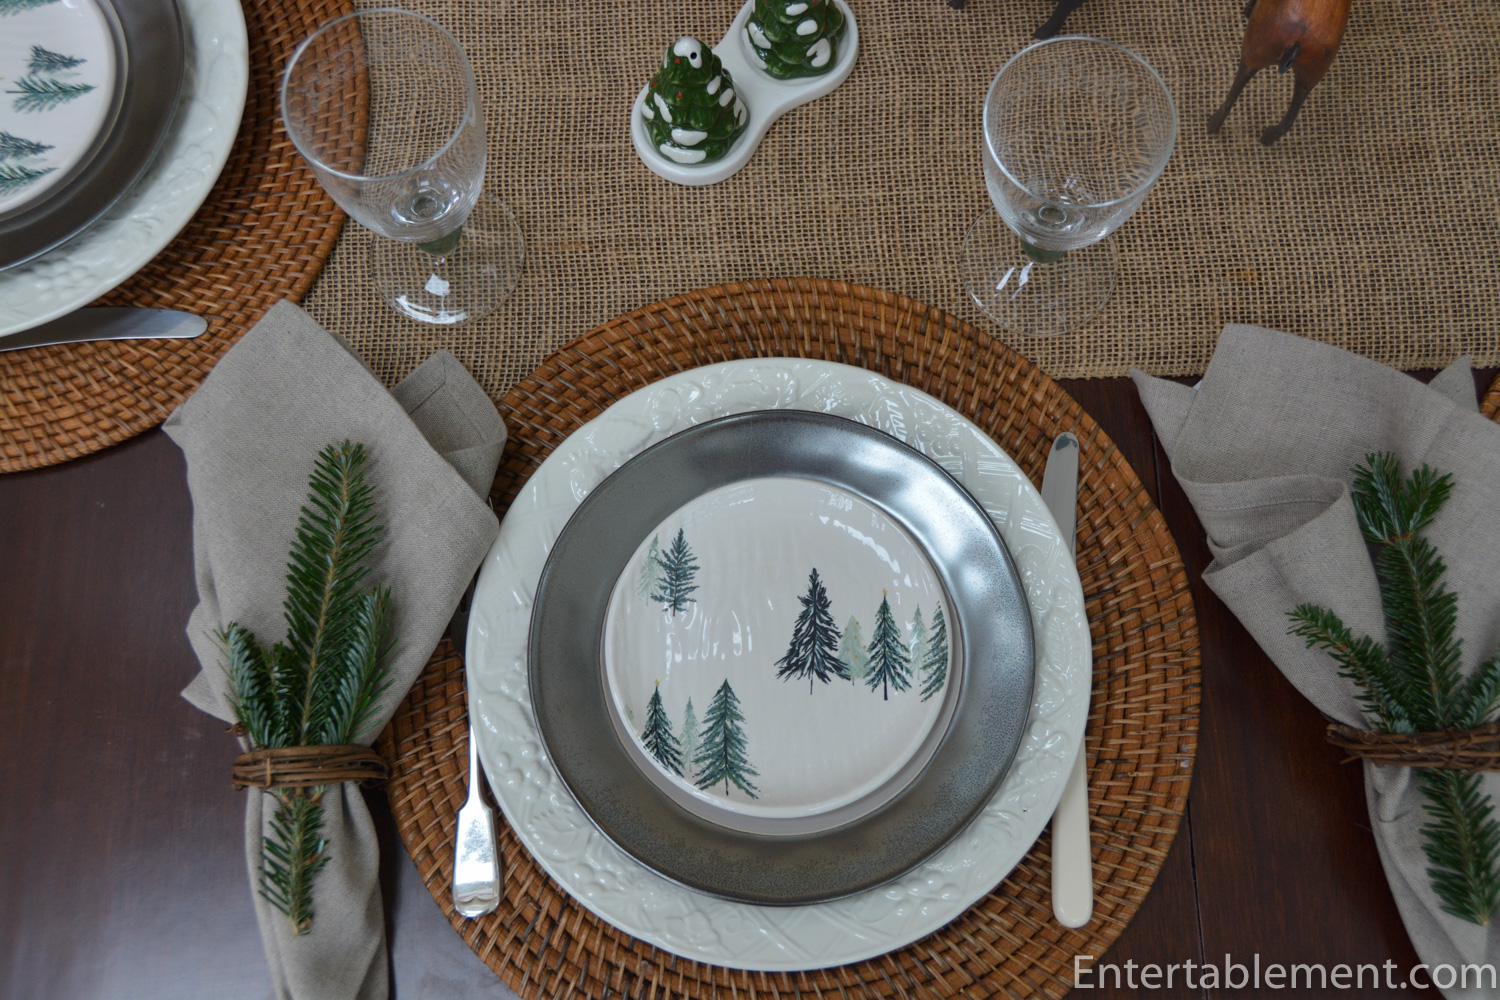
I was going to go with a patterned napkin at first. I had a green gingham or stripe in mind, but after putting the plates down, a more neutral, natural fabric looked better.
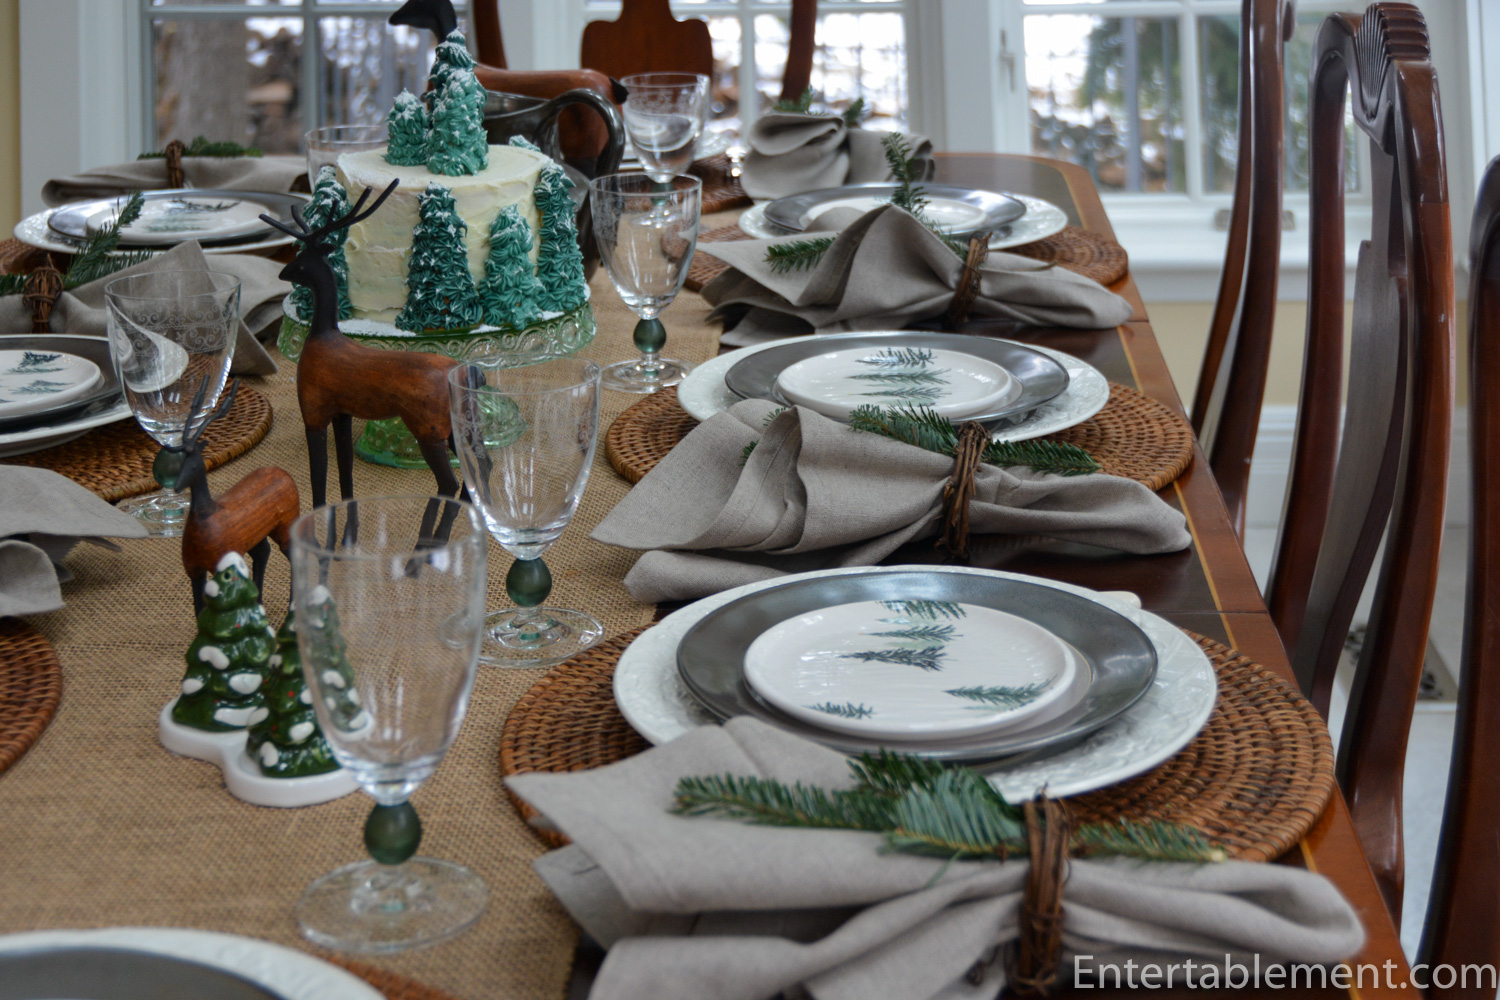
The grapevine napkin rings were a quick choice, and I added the spruce twigs for a bit of colour.
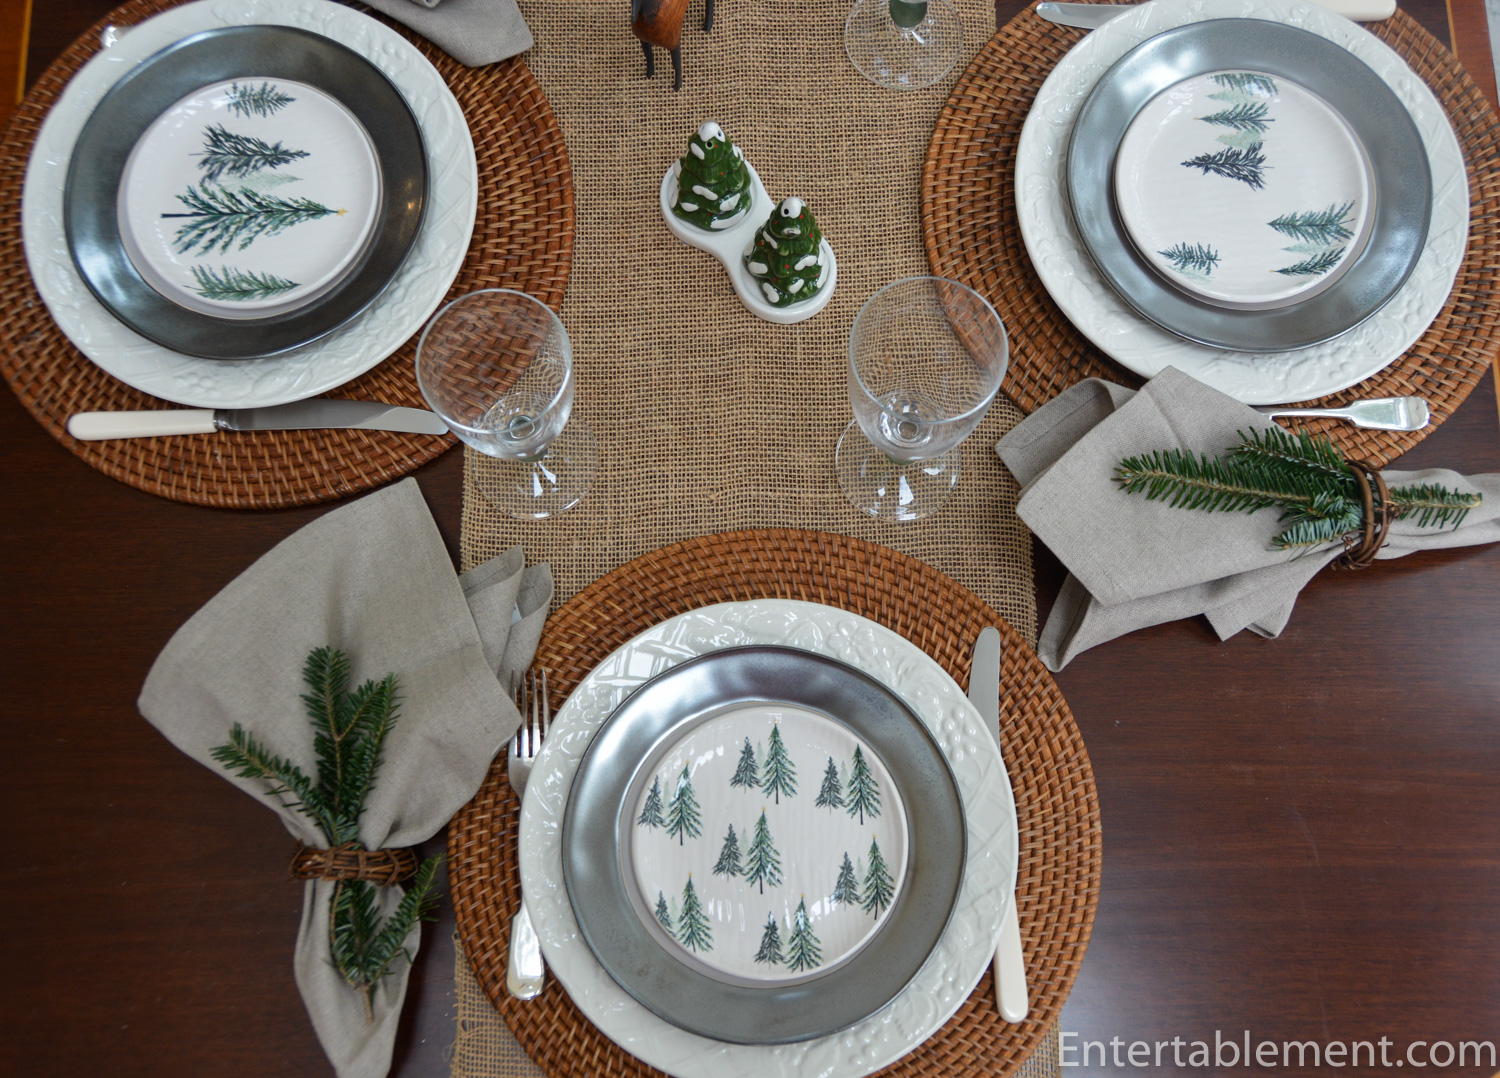
Pier 1’s tree salt and peppers just HAD to join in.

The glasses are part of the Sarah’s Garden collection from Wedgwood. I’ve had them forever. Rarely do the green balls at the bottom of the stem work as well, as they have a blue undertone. But they fit right in here.


The cake cut beautifully, retaining its shape and form. It lasted no time at all. Gone in the “flashest of flashes”, as Rowan Atkinson says in Love Actually. I served it along with hot chocolate with lashings of whipped cream after attending the Village Tree Lighting with four of the grandgirls, It seemed appropriate!

We are just a little more than a week from Christmas and five days from the shortest day. At 11:19 pm this Saturday we start adding daylight again. Yippee!!

Enjoy the week, everyone!
I’m sharing this post with Between Naps on the Porch.

I would love to make this cake but don’t have a full day to spare between now and Christmas. Looks like a work of art and you make everything sound so simple. You are an artist at work! Merry Christmas.
Haha! Happily, it didn’t take all day, but yes, time is getting quite short as we approach Christmas in earnest. Only a bit more than a week to go!
Dear Helen,
Oh how timely! I was just about to haul out my little pans, which I started using years ago after seeing tiny tall cakes at Miette Bakery in SF. Thanks for the tip on cake strips…I’ll try that. We’re getting into the Christmas spirit, although lowland areas will see temps in the 60s this week (!!) Your cake looks so perfect with those plates, and I love the silvery-green palette. Keep inspiring us…
I do enjoy those little cake pans! It’s like having your own private feast. Enjoy your baking and send pics if you get a chance. I love to see what others are doing, too!
I hope you already saw Gingerbread City this year…if you think piping icing is difficult:
https://www.houzz.com/magazine/this-is-what-happens-when-architects-build-a-gingerbread-city-stsetivw-vs~129611446?utm_source=Houzz&utm_campaign=u12618&utm_medium=email&utm_content=t5&newsletterId=12618
It reminds me of Rod Stewarts’s model railway. The detail is incredible!
I love the low-key natural elements of this table setting. Perfectly balanced and your cake is gorgeous—and yes, you really need a turntable to do this and patience with all that icing!
I used a turntable for the inner swirl and it was still a disaster! LOL. I dutifully filled two pastry bags (without tips), so I could feed them into a larger bag with a large round tip. So far, so good. It was the squeezing the combination so both colours fed out at the same rate with one hand while turning the cake with the other that was my undoing. I find I need two hands to properly manage a pastry bag. Clearly, in the words of IKEA, “you need to be two people” to perform this feat.
What a fun cake! And lovely table too – you really know how to do it! Now you’ve got me wanting to make a stripey filling! 😉 Hope you’re having a wonderful holiday!
I’d you do decide to make it, one more thing to consider: Pipe a strip of white frosting around the exterior perimeter of the cake before you start with the two colors. The green leaked out the side and I had to clean up a bit of a mess. I should have thought of that before I started, but didn’t.