
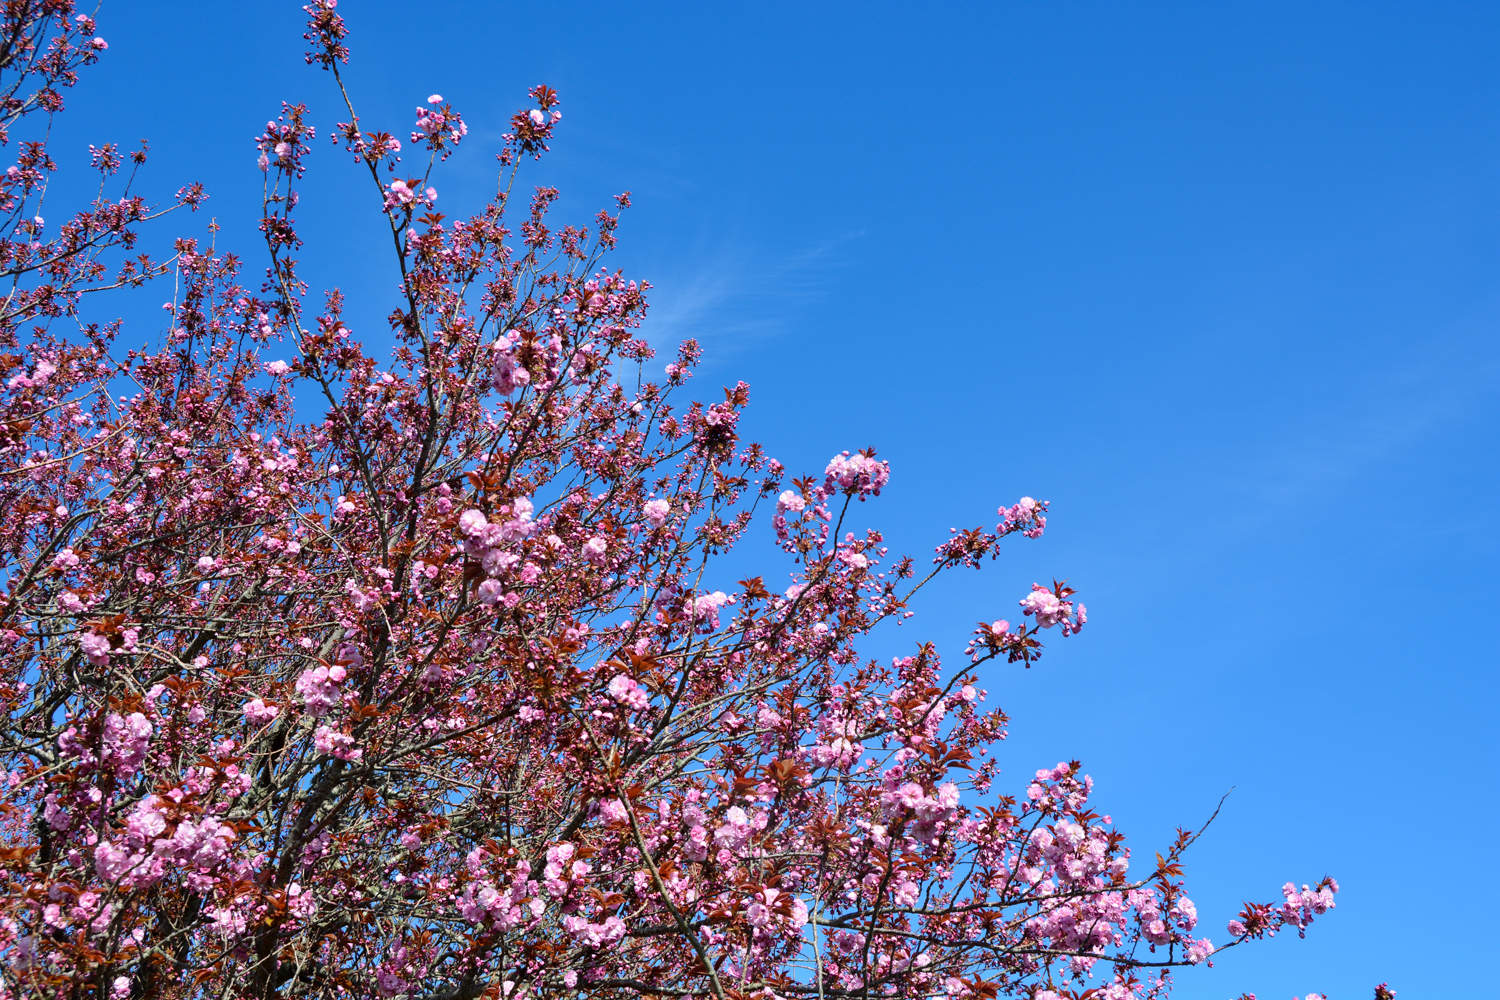
Our neighbour’s flowering cherry tree is just breaking into bloom. For a few glorious days, its graceful branches festooned with pink blossoms toss in the wind, beguiling us with their beauty. (I will skip over the subsequent unholy mess of disintegrating petals that clogs their driveway for two weeks).
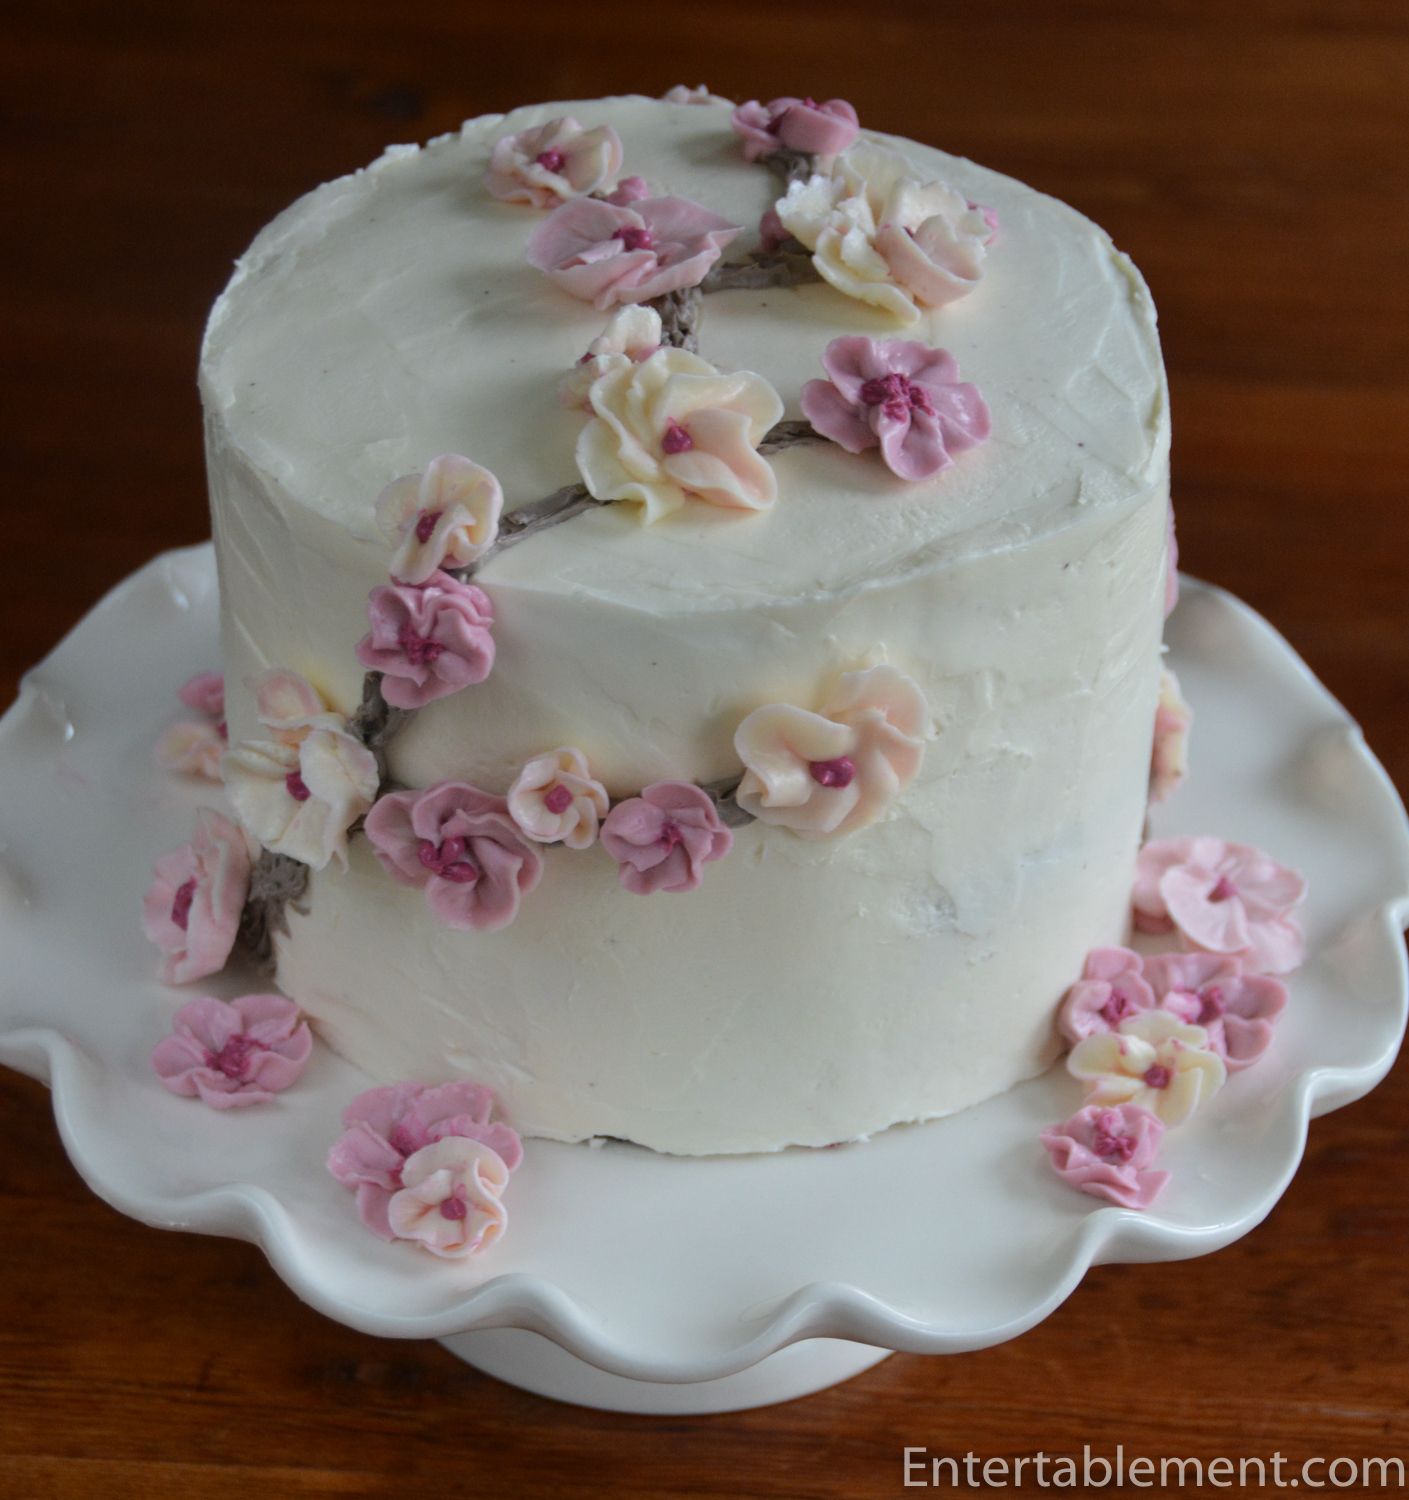
Perhaps wanting to capture the beautiful stage, I was inspired to concoct a cake. Now, what kind? Definitely chocolate, but it needed a pink filling, and it had to have white frosting, to act as a canvas for the cherry blossoms. I decided on Swiss Meringue Buttercream, as it’s not too sweet and pipes beautifully. But then, all those egg yolks have to be dealt with. Too bad I wasn’t making lemon curd. Wait – that’s it! Make raspberry curd, instead.

A little digging around on the ‘net turned up Wilton’s instructions on making Cherry Blossoms, including the specifics for the correct piping tips. I’ve done a bit of piping, but mostly exuberant swoops for cupcakes. My skills are definitely in the “formative stage,” but I’m eager to learn. Besides, if it doesn’t work out, it still tastes great!

I wasn’t keen on Wilton’s mostly white blossoms (they looked more like apple blossoms to me, and indeed, in their instructions, they refer to apple blossoms). So I winged it with my own colour interpretation.

Getting the final coat of icing smooth was the most difficult part. I didn’t have a proper-sized cake board, so I put the cake directly on the pedestal stand. That, in turn, had to balance on the turntable, making the whole enterprise somewhat unstable. Round and round we went, icing applied, icing smoothed off. The key, I found, was to dip the spatula in hot water and dry it immediately before applying it to the cake. The warmth of the spatula smoothed the butter. After endless fussing, I finally called it “good enough.”
For help with the actual flower piping, I turned to Preppy Kitchen’s excellent blogs and videos on making buttercream flowers. John Kanell makes it all look very approachable. He’s so warm and encouraging. It’s like having your best friend in the kitchen with you, laughing alongside you as you wrestle with the project.

The chocolate cake itself derives from Sprinklebakes’ Chocolate Therapy Cake. The name alone sold me. Doesn’t it sound exactly like what we all need about now?

Here are the full instructions, in case you’re tempted. I think it would be a welcome offering for Mother’s Day once we can all get back together.
Print
Cherry Blossom Cake
Ingredients
For the raspberry curd
- 340 g or 12 oz frozen raspberries (thawed)
- 113 g or 4 oz butter
- 150 g or 3/4 c granulated sugar
- 2 tbsp lemon juice
- 5 large egg yolks
- 1 pinch salt
For the cake layers
- 57 g or 2 oz fine-quality semisweet chocolate
- 1 c hot brewed coffee or hot water
- 200 g or 1 2/3 c all-purpose flour
- 400 g or 2 c sugar
- 100g or 1 c unsweetened cocoa powder (not Dutch process)
- 1¼ tsp baking soda
- ½ tsp baking powder
- ¾ tsp salt
- 2 large eggs
- ½ c vegetable oil
- 285 g or 1 c Greek yoghurt
- ½ tsp pure vanilla extract
For the Swiss Meringue Buttercream
- 5 large egg whites
- 454 g or 2 c unsalted butter at room temperature
- 300 g or 1½ c granulated sugar
- pinch kosher salt
- 1 tsp pure vanilla extract
Instructions
Make the raspberry curd
- Place a fine-mesh sieve over a heat-proof bowl.
- In a medium, heavy-bottomed saucepan, melt the butter over medium heat. Add the berries and any juices, sugar, lemon juice, egg yolks and salt.
- Cook over medium heat, stirring frequently and mashing the berries until thickened (5-10 minutes).
- Strain through the prepared sieve, mashing the berries with a spoon or rubber spatula.
- Discard the seeds and other solids.
- Give the curd in the bowl a stir, let cool slightly and press plastic wrap onto the surface to prevent it from forming a skin.
- Cover and refrigerate until completely cooled.
Make the cake layers
- Preheat oven to 325°F.
- Finely chop the chocolate and add it to a bowl with hot coffee or hot water. Let the mixture stand, stirring occasionally, until the chocolate is melted and the mixture is smooth. Let cool.
- In a large bowl, sift together flour, sugar, cocoa powder, baking soda, baking powder, and salt.
- In the bowl of a stand mixer, beat eggs until thickened slightly and lemon coloured (about 3 minutes). Add oil, yoghurt, vanilla, and cooled, melted chocolate mixture to eggs, beating until combined well. Add flour mixture and beat on medium speed until just combined.
- Spray two 8-inch round pans with baking spray containing flour (I use Bak-Klene). Line bottoms with rounds of parchment paper and spray the paper. Divide batter between the pans and bake in the middle of the oven until the cake springs back when pressed in the centre (40-50 minutes).
- Cool layers in pans for 15 minutes on racks. Run a thin knife around the edges of pans and invert layers onto wire racks. Carefully remove parchment paper and cool layers completely. Cake layers may be made one day ahead and wrapped well in plastic at room temperature.
Make the Swiss Meringue Buttercream
- Add egg whites, sugar and salt to the bowl of a stand mixer and whisk briefly. It’s important that the bowl be completely free of any fat, or your meringue won’t whip, so you may want to wipe it down first with a diluted mixture of vinegar or lemon juice and water before wiping it dry with paper towels.
- Place the bowl over a pan of simmering water, making sure the water does not touch the bowl.
- Whisk the egg whites occasionally until they warm up, then whisk constantly as the temperature rises. Heat the mixture until it reaches 160ºF or until it doesn’t feel grainy between your fingers.
- Transfer the bowl to a stand mixer, and beat with a whisk attachment until you get glossy, room-temperature peaks. Tip: hold a couple of bags of frozen peas or corn against the outside of the bowl to quickly decrease the temperature.
- Switch to the paddle attachment. With the mixer running on low, add small dollops of room-temperature butter, one at a time. Take your time with this—let the butter incorporate fully before you add the next piece, which will take 10-15 minutes. Don’t panic if the mixture gets soupy. Just keep beating. You can’t overbeat it, and it will come together in the end.
- Add the vanilla extract.
Assemble the cake
- Torte each cake layer, so you have four layers.
- Place a cake layer on a cake board on a turntable. Pipe with a layer of frosting, followed by a thin layer of raspberry curd. Repeat with other layers, finishing with a cake layer. Stick a few skewers down through the layers to hold them vertically. Refrigerate until firm (30–60 minutes).
- Crumb coat: frost the cake with a thin layer of frosting. You should be able to remove the skewers at this point. Refrigerate until firm (15–30 minutes).
- Tint ½ c of frosting to make soft pink (I used Americolor Burgundy), 1/8 c to dark burgundy (Americolor Burgundy – just use more) and 1/8 c soft brown/grey (I used Americolor Taupe). Attach a coupler to the bag for the pink frosting, tip #1 to the bag for the burgundy frosting and tip #3 to the bag for the brown/grey frosting. Add the respective frostings to the bags.
- Make cherry blossoms: Cut up 30 2″ parchment squares; use one for each blossom, fixing the parchment to a turntable with a small dab of frosting. Using the pink frosting and tips #101, #102 and #103, pipe six #101 five-petal blossoms, four #102 blossoms and three #103 blossoms (the thick side of the tip goes toward the centre of the blossom). Add ½ c plain white frosting to the bag that is low and largely empty of the pink frosting and repeat. This will provide a nice variety of pink & white blossoms. Use the dark burgundy frosting to dot the centre of each blossom. Freeze the flowers until ready to use.
- Frost the cake with the final layer of frosting, getting it as smooth as you can. Refrigerate until firm (15-30 minutes).
- Using the brown/grey frosting, pipe the branches on the side of the cake and score them with a toothpick to create realistic bark. You may want to sketch the approximate locations of the branches using the toothpick first. Attach the blossoms using a bit of the appropriately coloured icing.
Happy Mother’s Day to all!
I’m sharing this post with Between Naps on the Porch.

This cake is too beautiful to eat. It looks like it took all day to make it and I’m sure It would take me 2! Are you and Glenn devouring this whole thing? A very happy mother’s day to you. Hope it’s a warmer day than today⛷
Happy Mother’s Day to you, too. Yes, it’s freezing today. Literally! We took the dogs out, and it started to SNOW. I couldn’t believe it. Himself has put a fire on.
The cake has been sliced and distributed to neighbours. 🙂 We kept a bit, of course! Delicious, if I do say so myself.
What a beautiful cake. Not a fan of icing but it would be super with ice cream mixed with the raspberry filling.
Ice cream, chocolate and raspberry curd. Mmmm!
If you like ice cream, you might, just possibly, like Swiss Meringue Buttercream. It’s nowhere near as sweet as American buttercream.