Back in the Stone Age, when I was a child, we waited with delicious anticipation for the annual screening of It’s the Great Pumpkin, Charlie Brown, on TV. Hard as it is to fathom today, it was shown once; if you wanted to watch it, you had to show up in front of the TV at that time—no video, streaming or on-demand viewing.

Perhaps it was the scarcity of Charlie Brown’s appearance that engendered my lifelong love of Peanuts characters (no chance to get stale), or maybe it’s just the timeless appeal of the characters. I read somewhere that we all want to be the ultra-cool Snoopy but fear deep down that we are actually the hapless Charlie Brown. True!
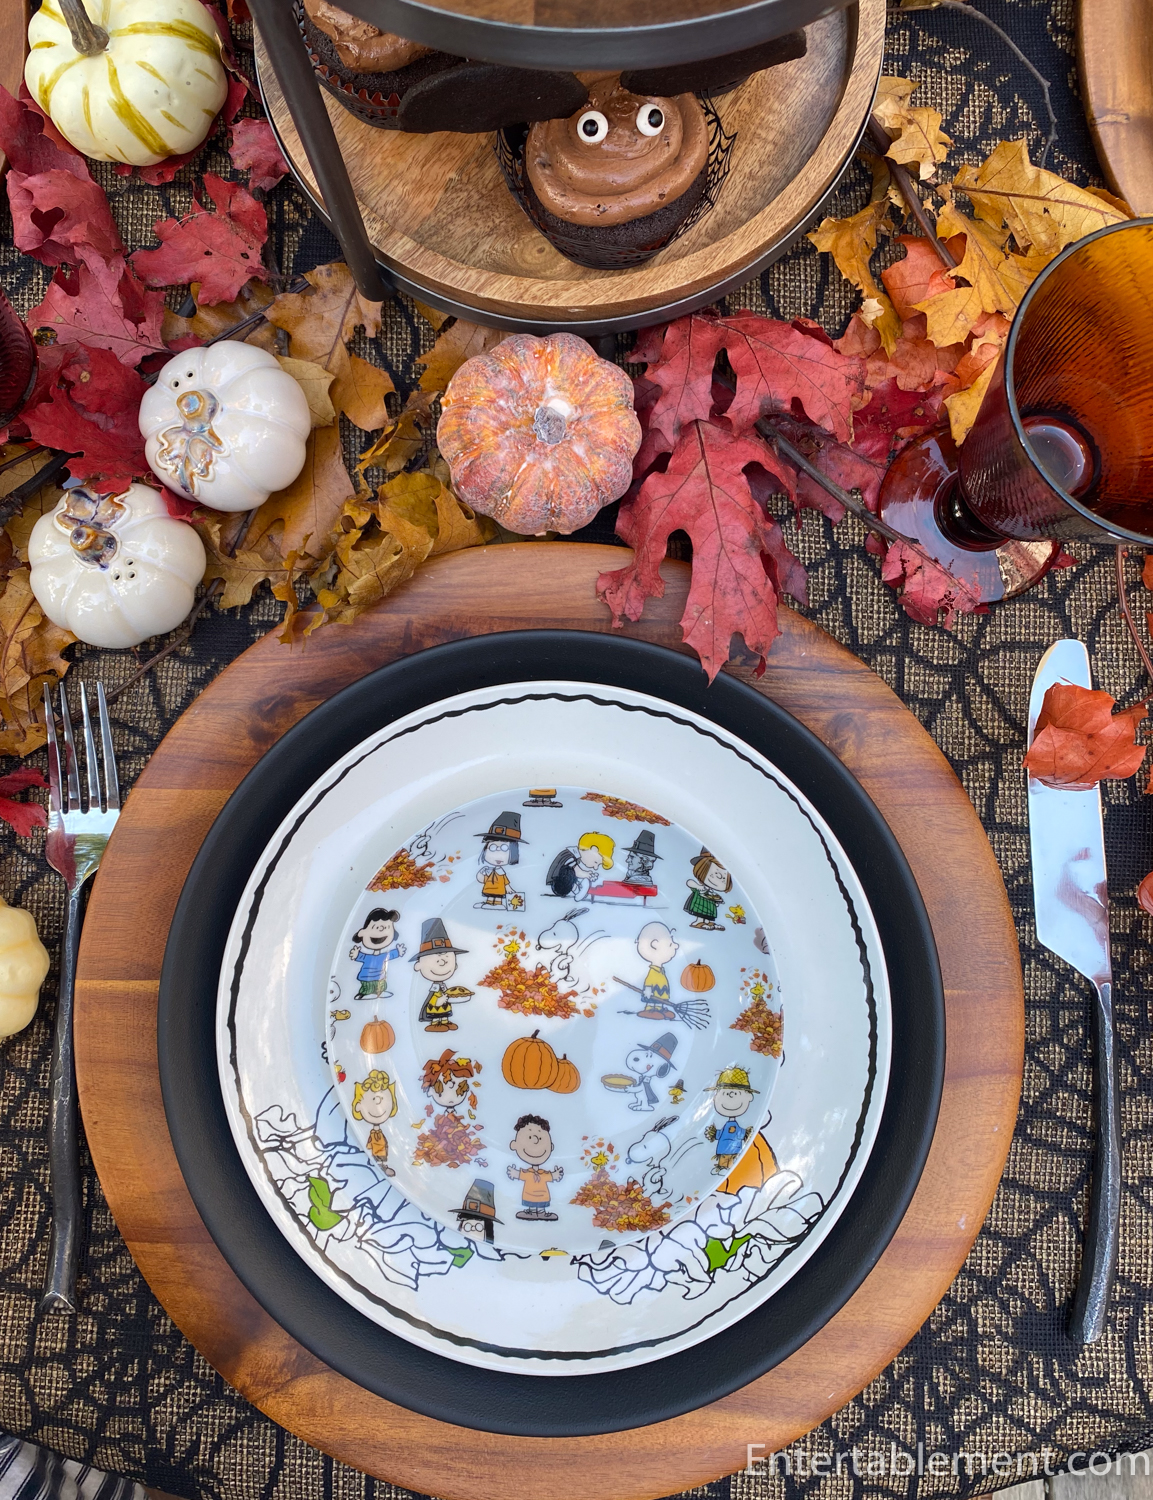
Whatever the reason, I’m still in love with Peanuts, and there was never any question that these plates would join the Entertablement collection. I had so much fun styling the table.
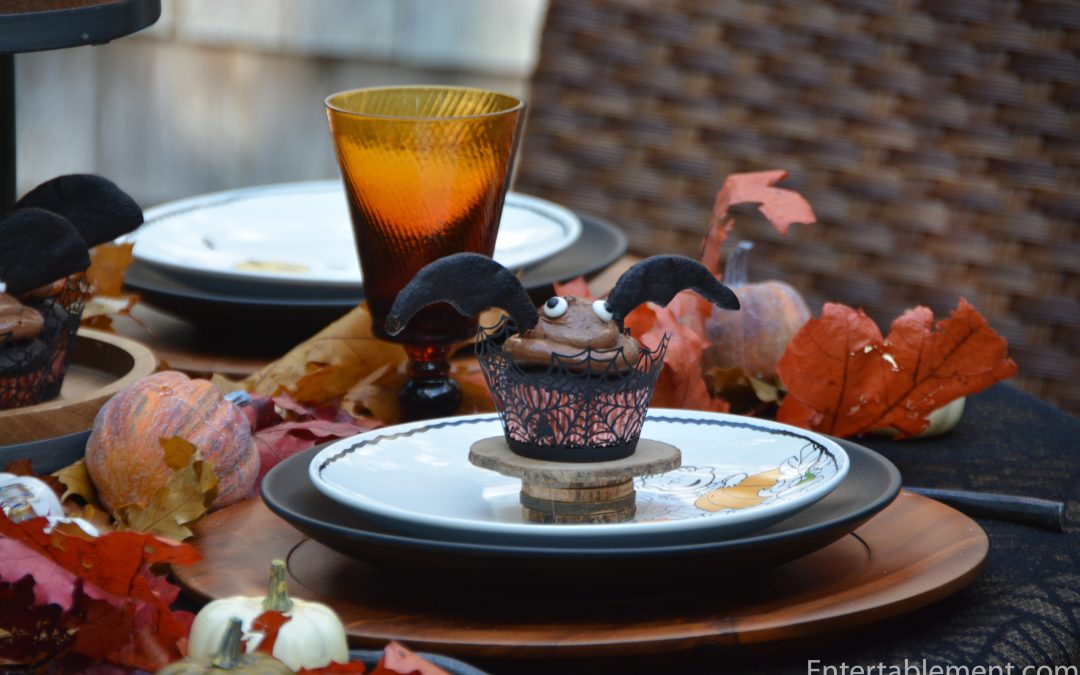
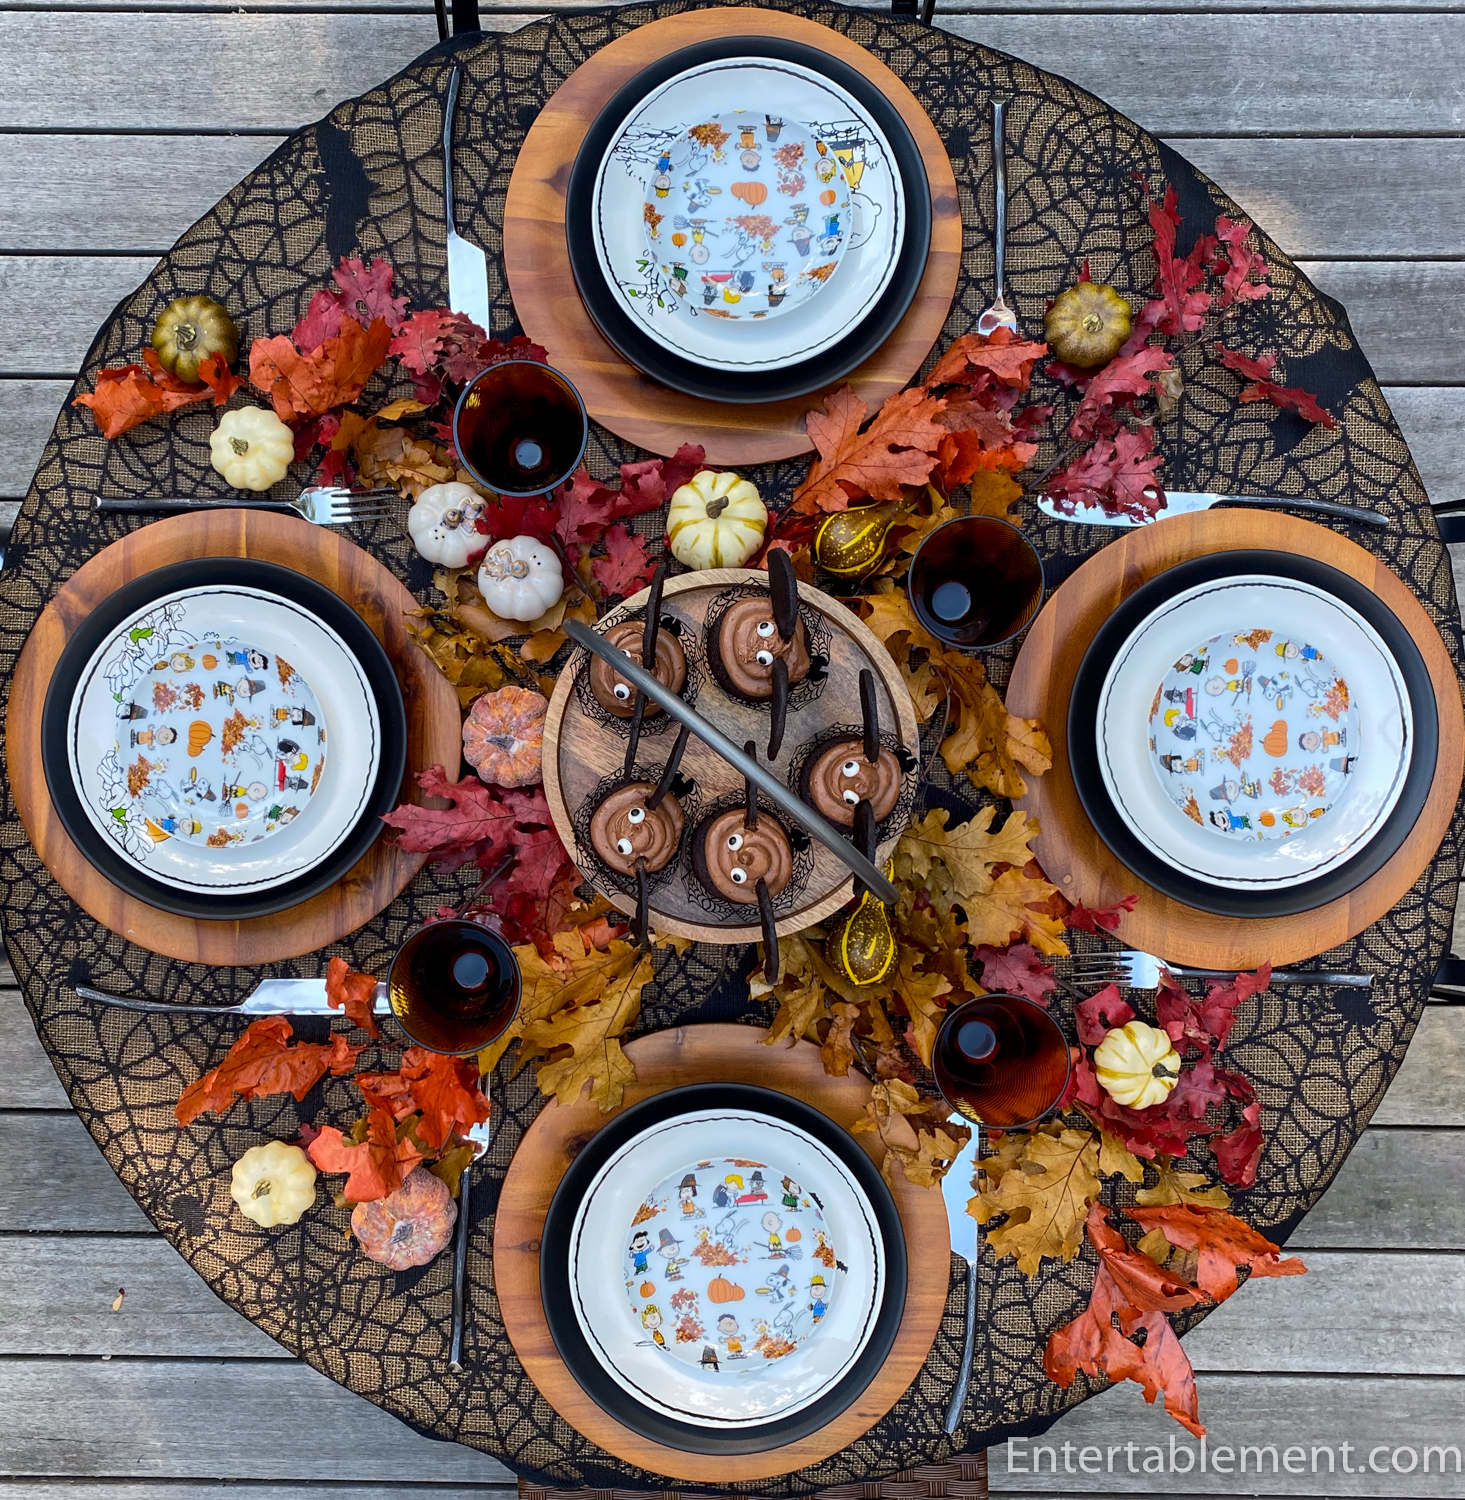
I had already decided to make the Chocolate Bat Cupcakes with their spiderweb cupcake holders, so the spiderweb tablecloth was an easy decision.
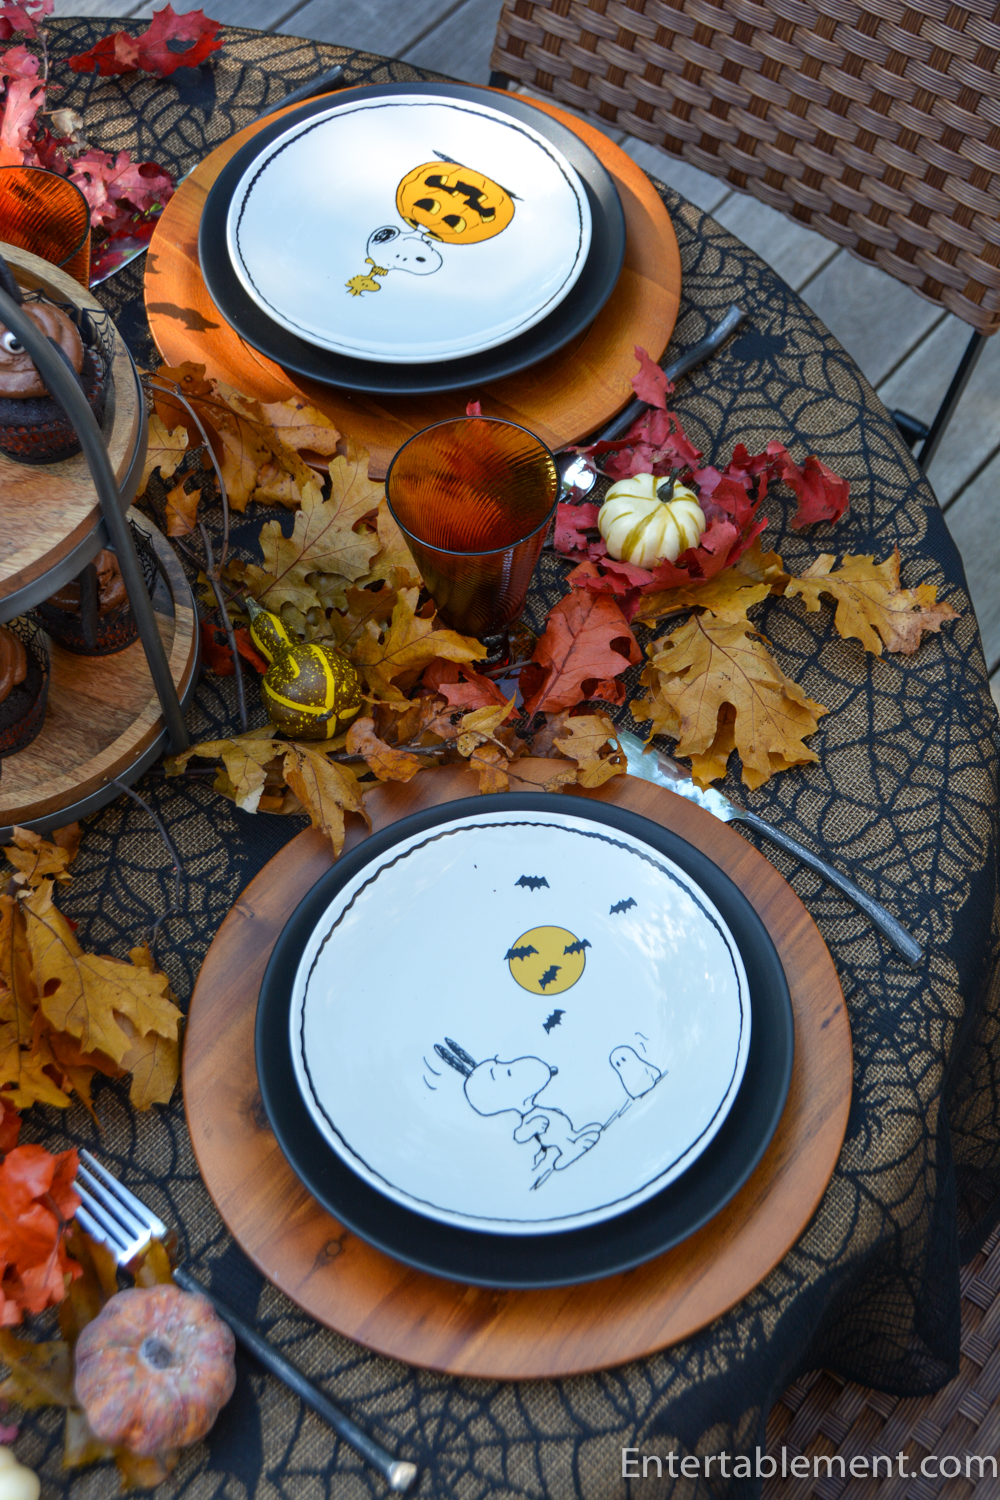
The Acadia wood chargers and plain black coupe dinner plates were next. I added leaves and small pumpkins to encircle the wooden tiered cupcake stand.

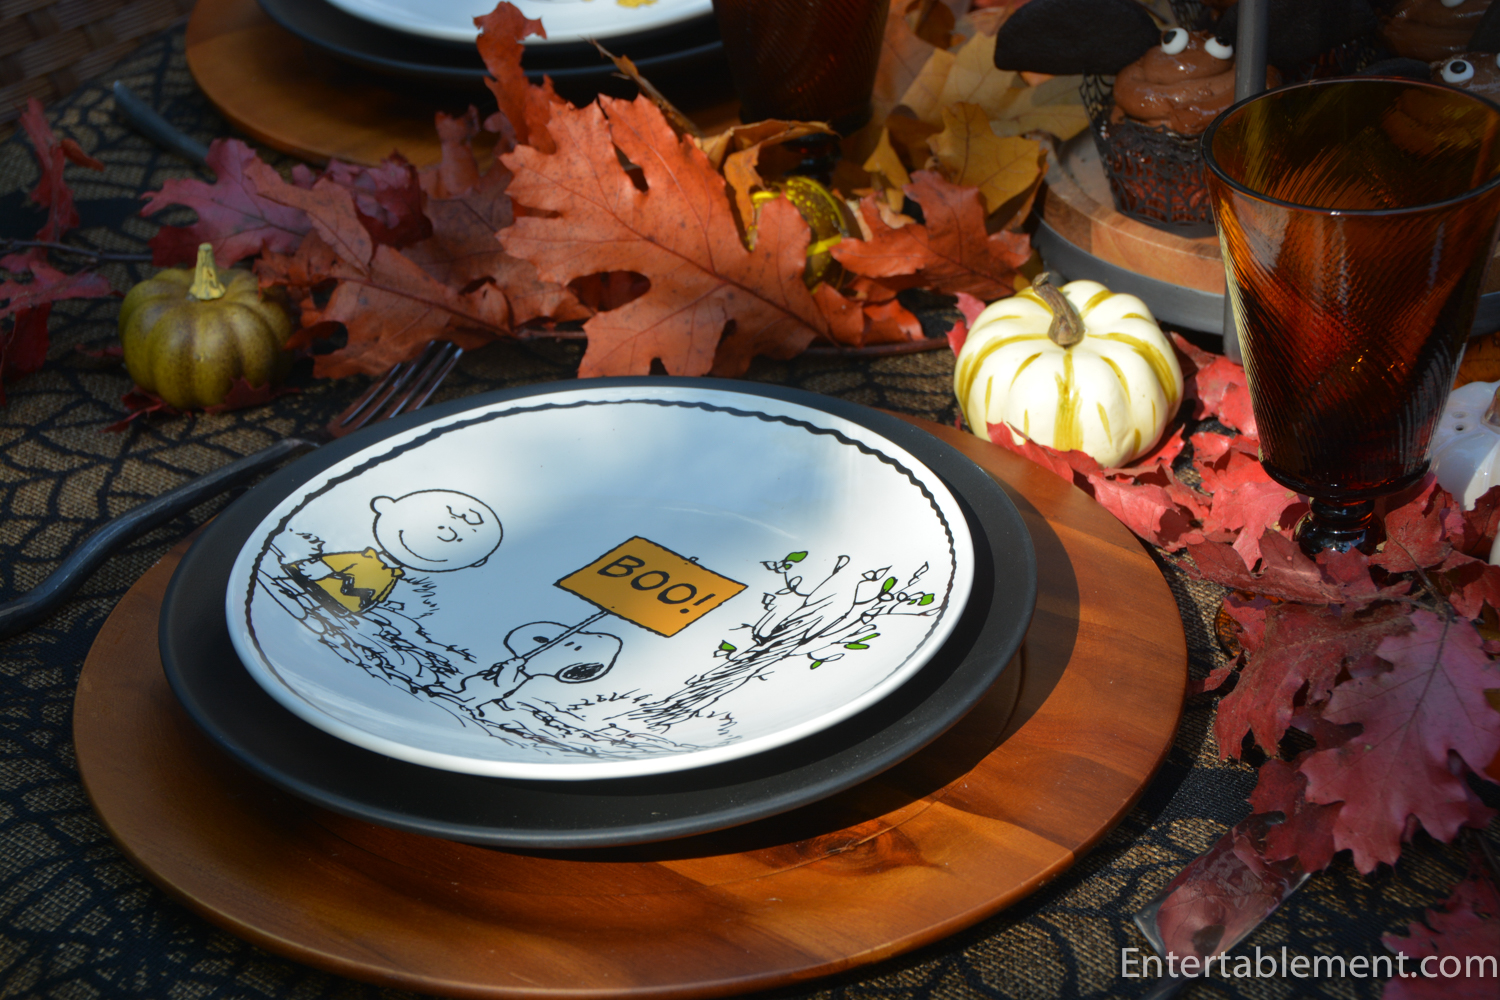
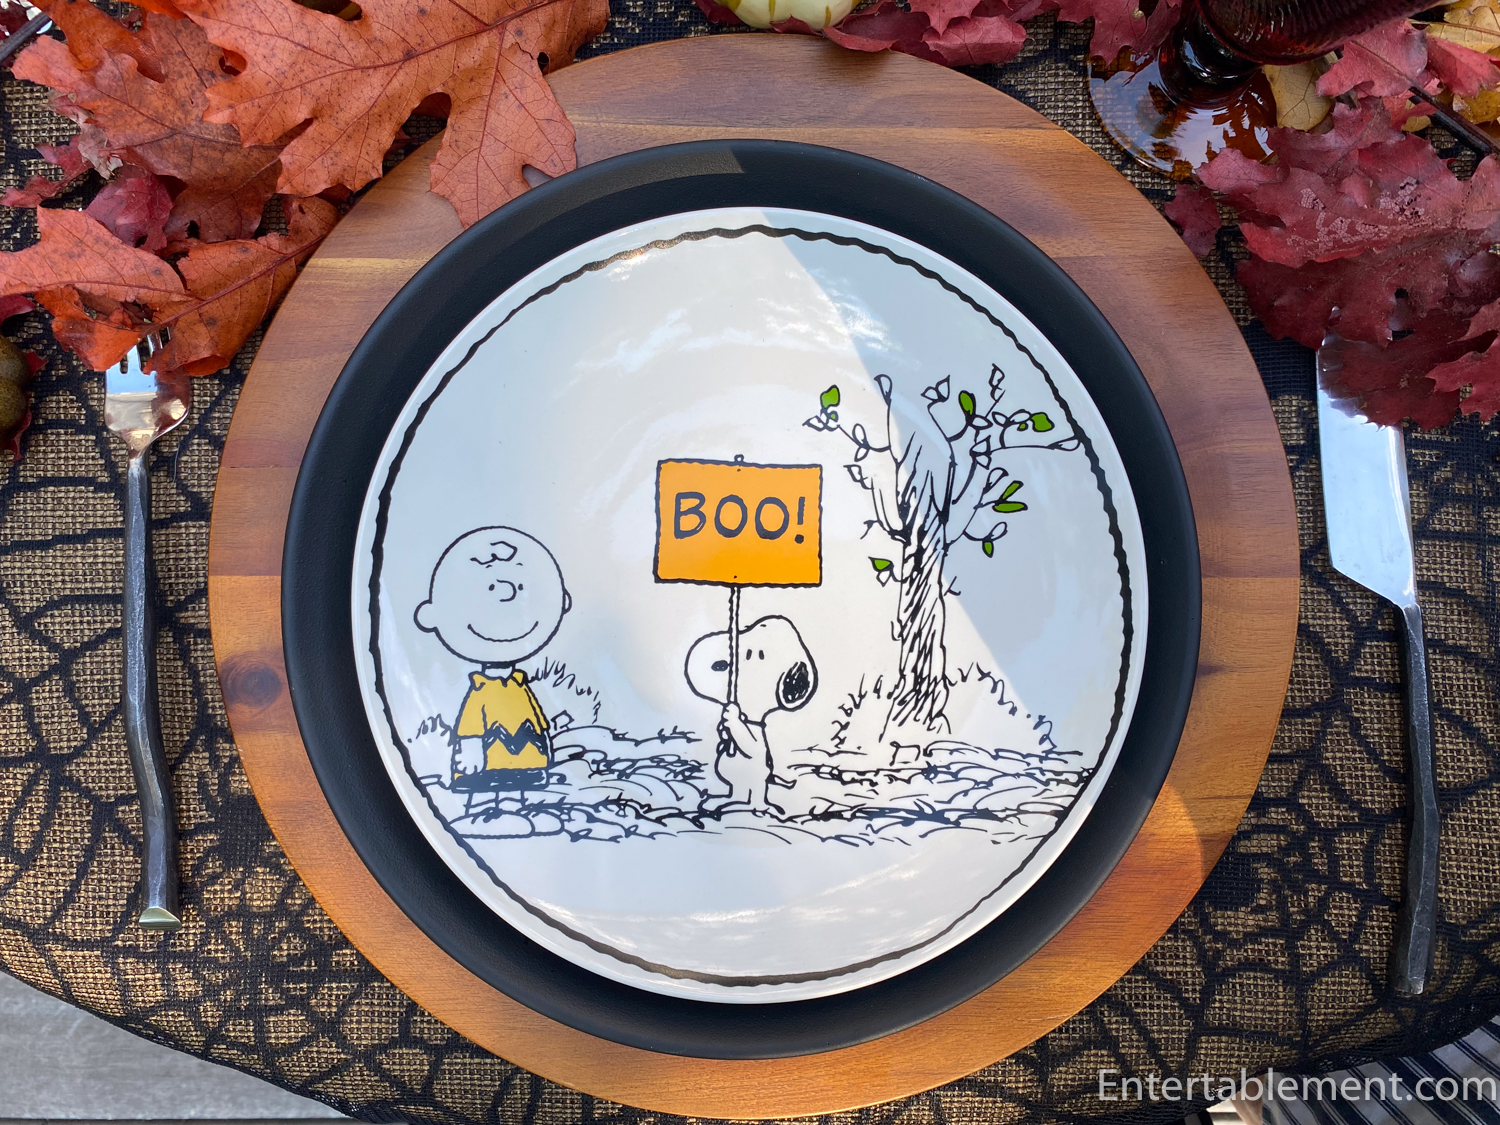
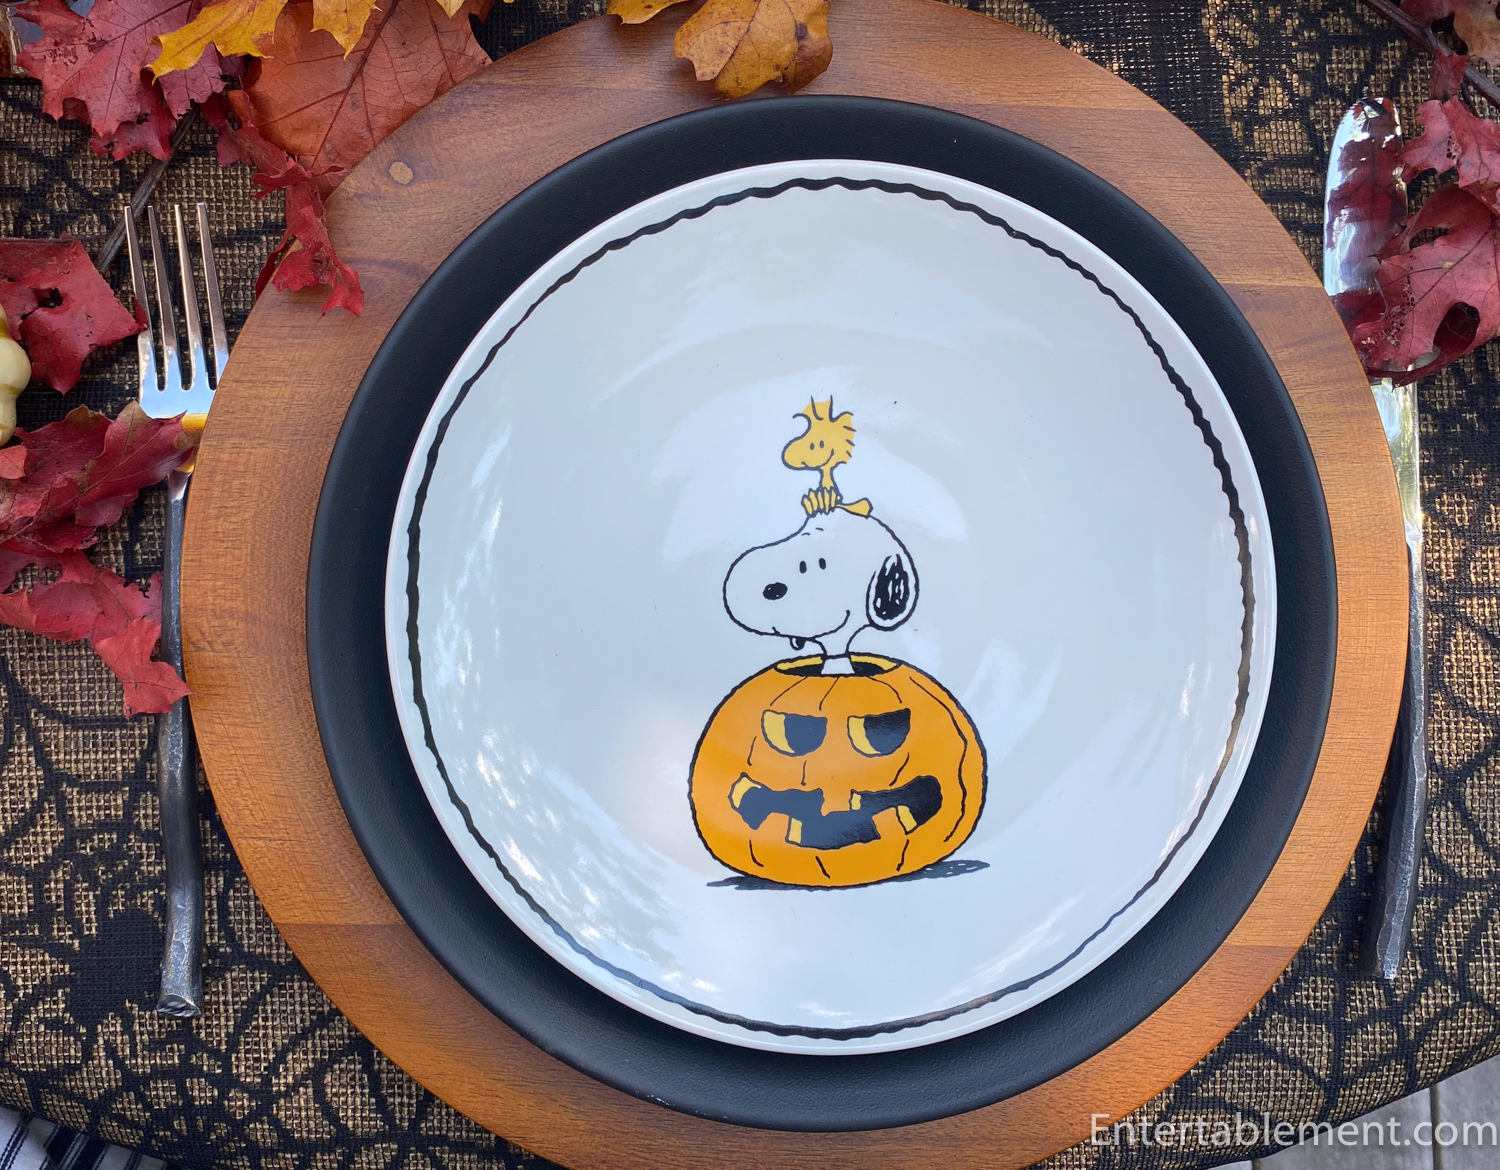
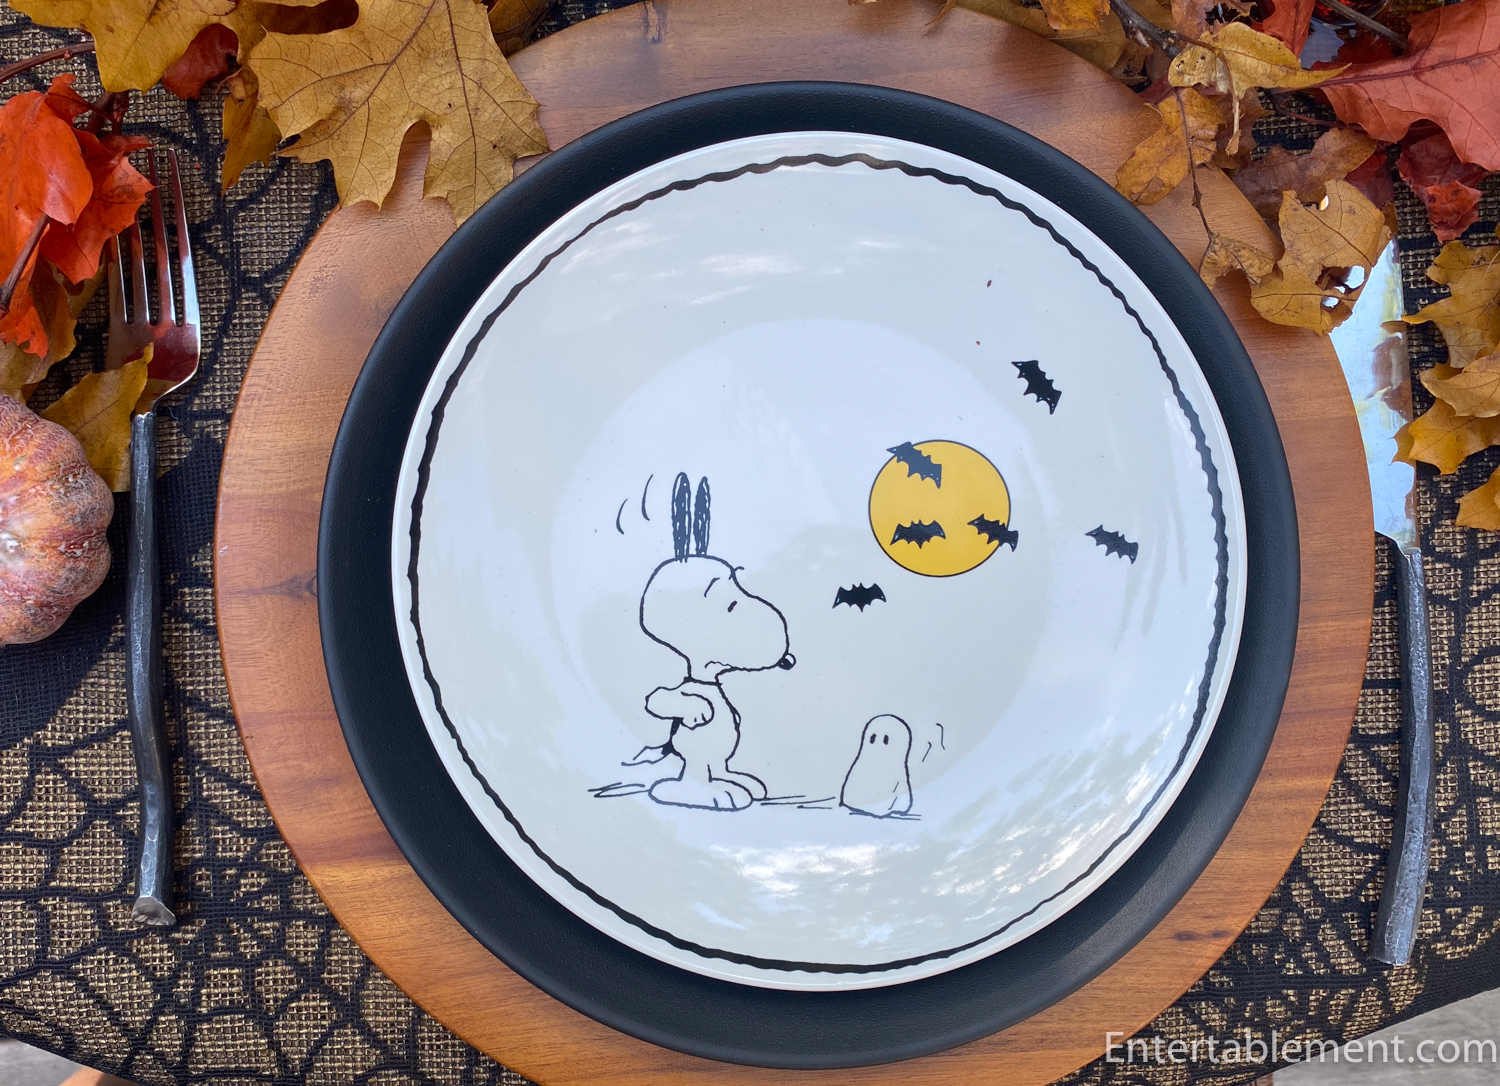
The salad plates were from Pottery Barn a couple of years ago, and there are four different scenes.
I love this take on a porch decoration of stacked pumpkins, or in this case, one pumpkin stacked with Snoopy and Woodstock, his chirping sidekick.
I assume it’s Woodstock under the sheet. Gotta love those flying Snoopy ears.
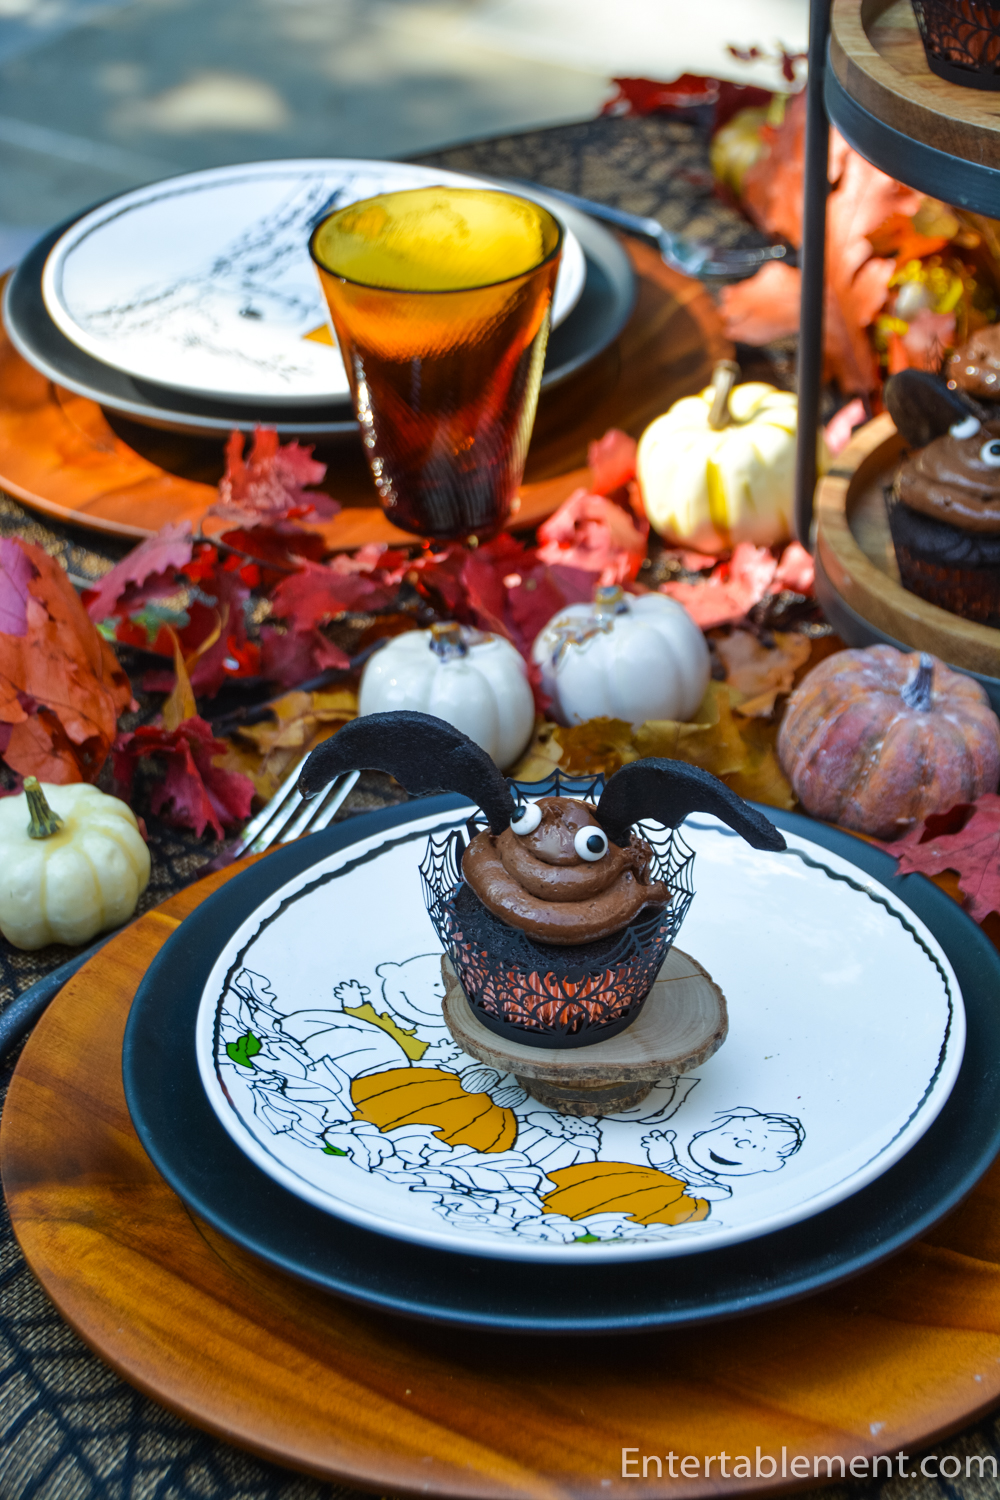
Lastly, the gang’s all here.

The Peanuts Thanksgiving appetizer plates were an eBay find.
I thought about setting a separate table with them for a Thanksgiving theme, and I may still do that, but I figured they could join in the fun on this table, too.
I noticed Pottery Barn has brought out Peanuts Harvest salad pates this year. That could be a fun table, too. Hmmm…wheels turning. Perhaps little turkey cakes…

The Chocolate Bat Cupcakes were a lot of fun to make. The wings are made from dark chocolate wafer cookie dough. The dough is quite sticky and doesn’t lend itself to rolling, so I formed it into a tube, chilled it thoroughly, then sliced it. The wings are formed by cutting two semi-circles out of the bottom of the half-slices. There was lots of dough left over for plain round cookies, which is fortunate as Nabisco has discontinued their version. Sigh. The cupcakes are the Chocolate Chocolate Cake recipe.

Happy Halloween! Boo!
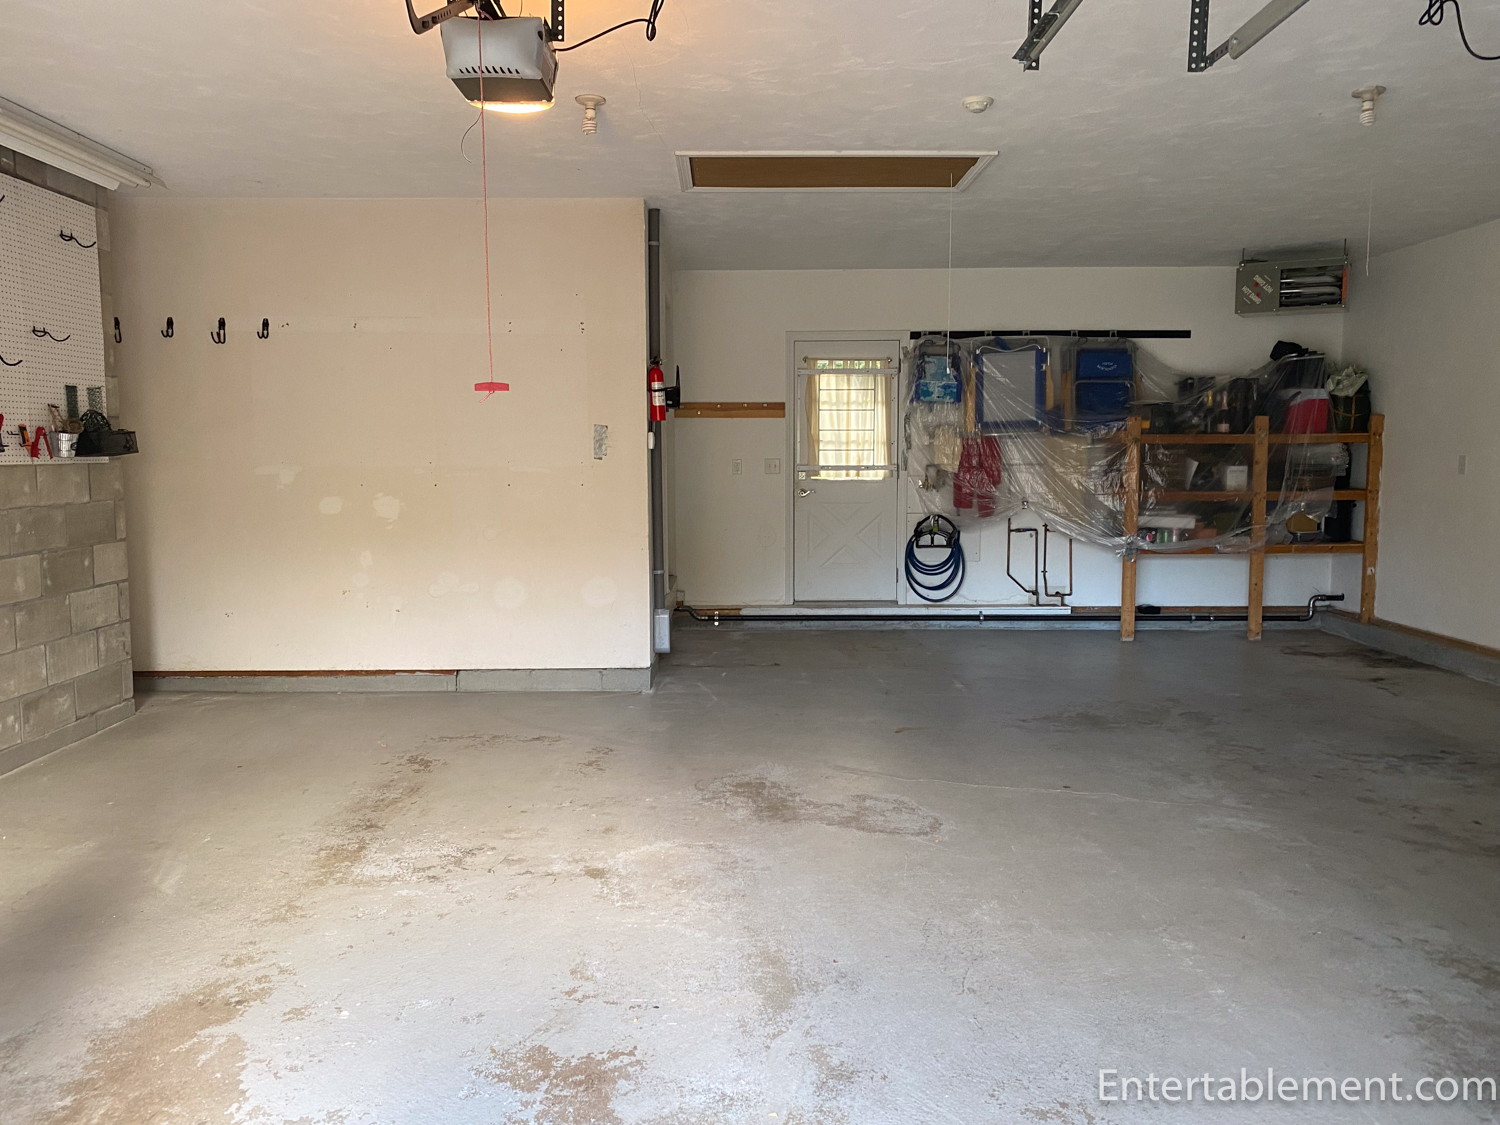
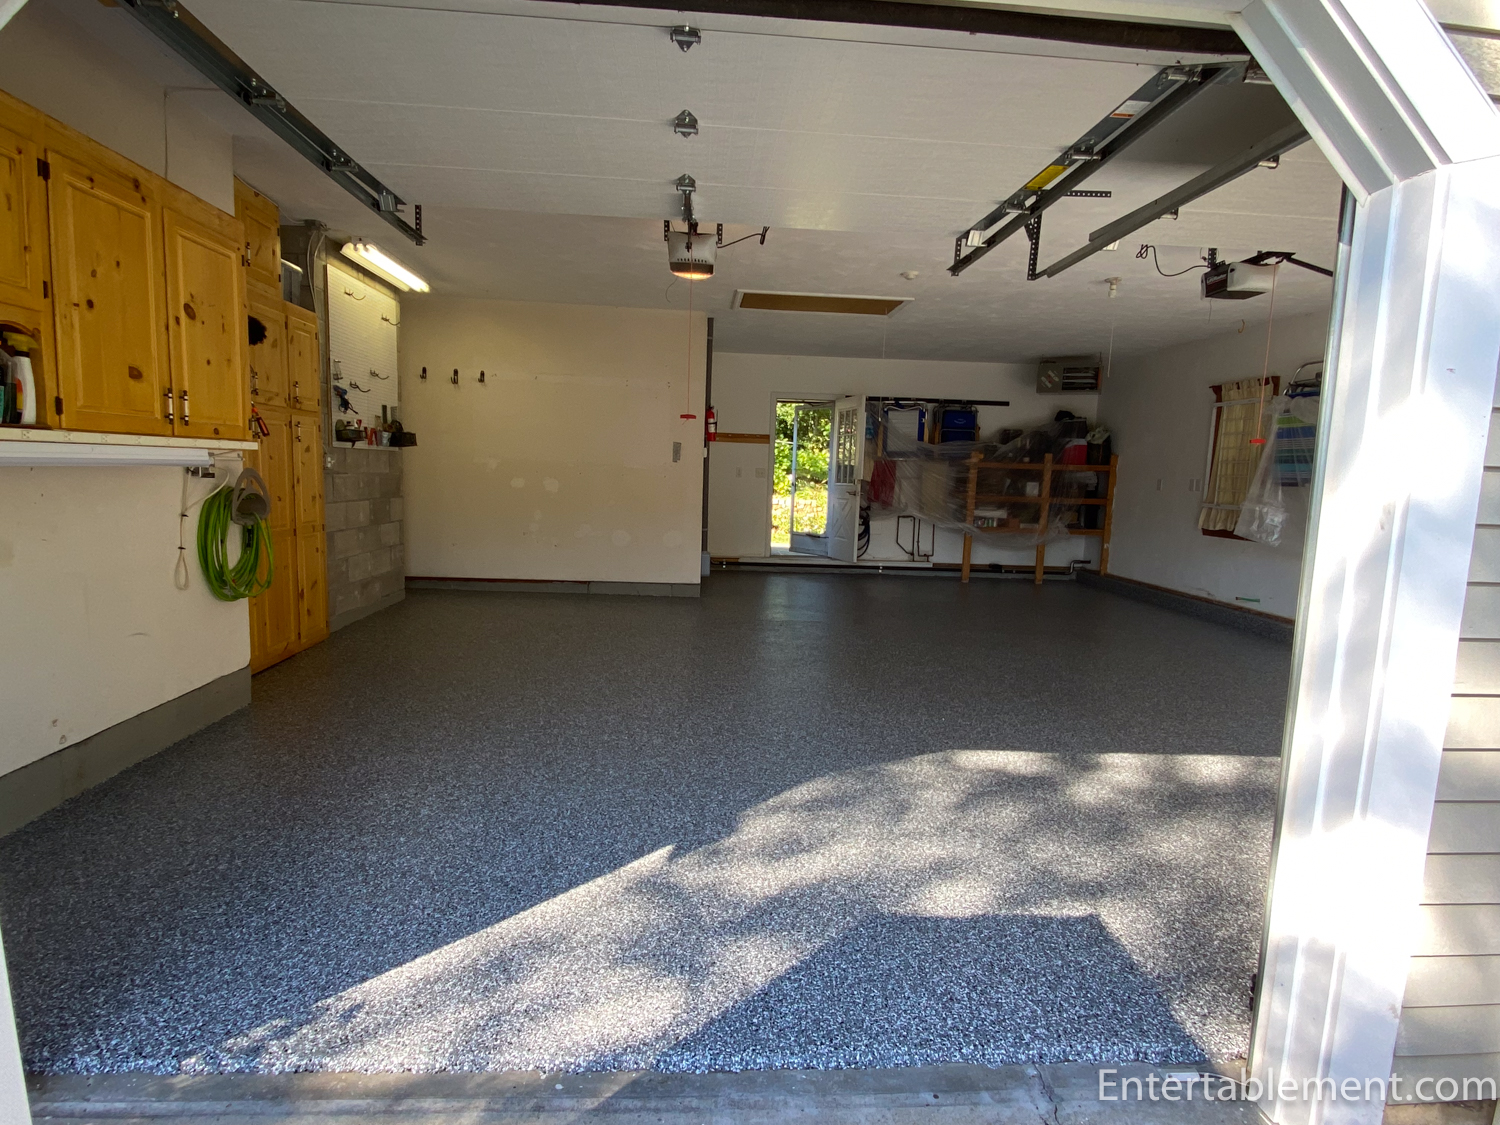
It’s a gorgeous weekend here on the Cape. We are putting our garage back together after having a polyurea floor put in. Here is the garage, emptied and awaiting the new floor.
The wooden steps from the garage to the house had to be removed, along with our respective stainless work benches. They spent a few days out of doors.
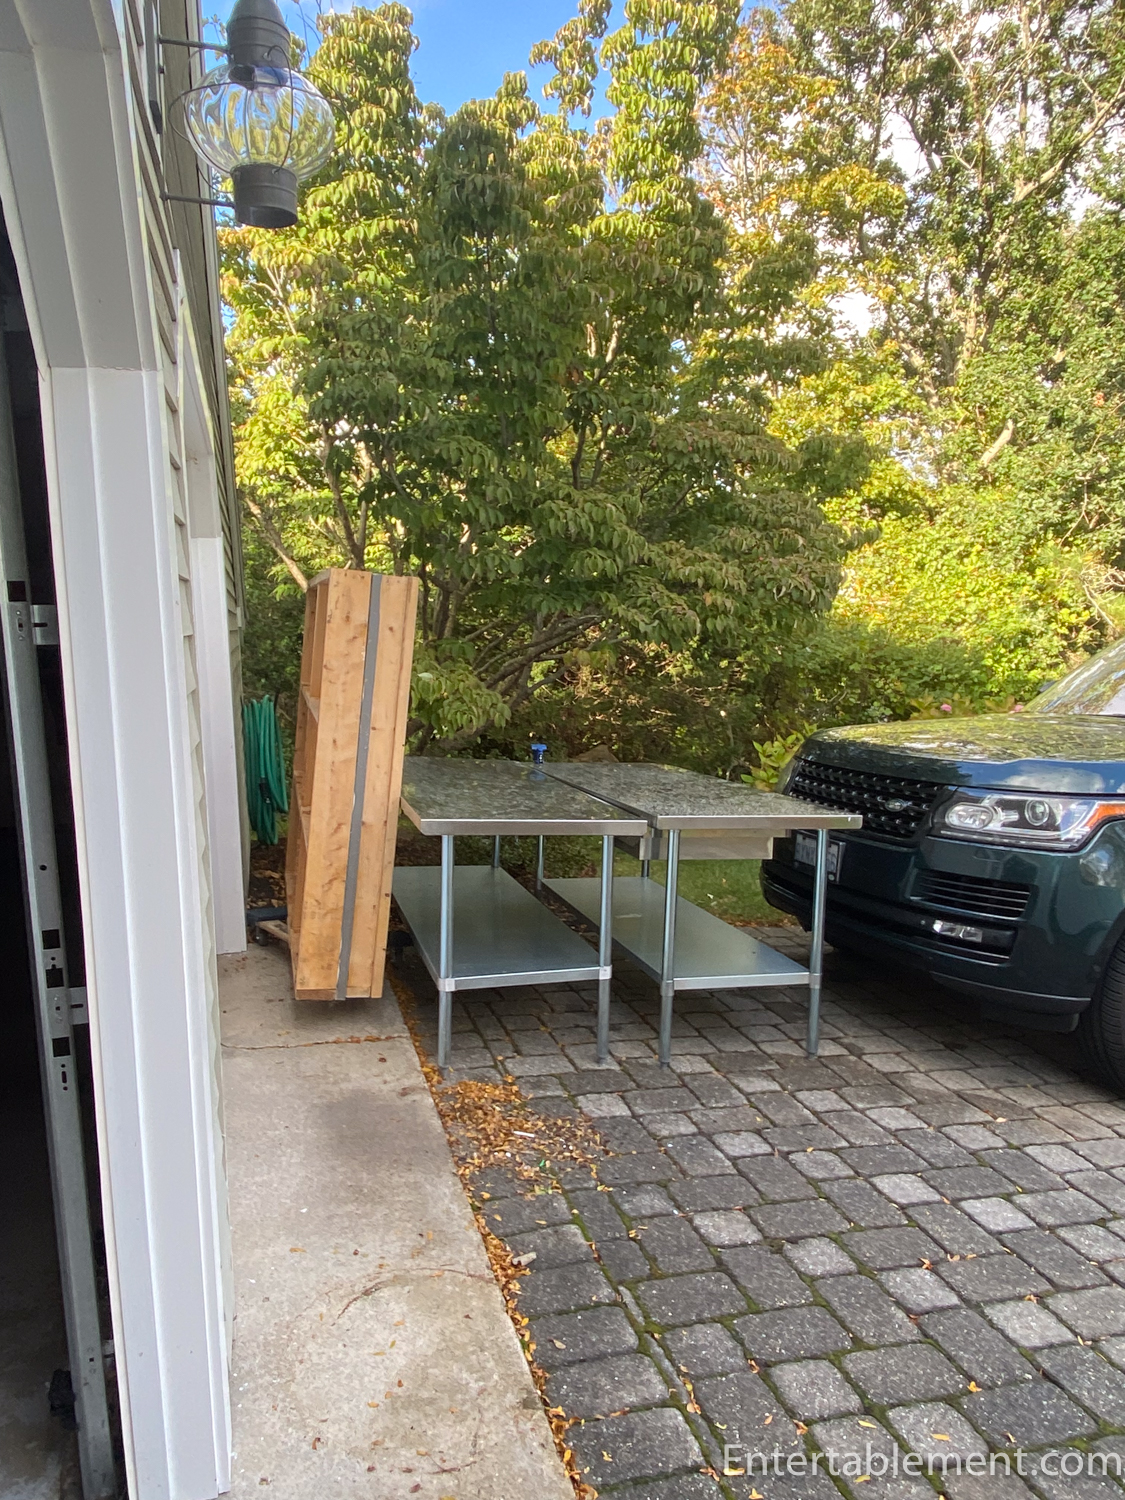
The final elegant touch was the fridge and freezer, which sat in the driveway for three days, undoubtedly delighting the neighbours with their own version of Beverley Hillbillies.

The floor took only one day to apply. One worker from Next Level Concrete Coatings arrived at about 8 a.m. and began grinding down the floor, fixed a couple of cracks with some epoxy and then ground that flat once it had dried. It was early afternoon when he began spreading the liquid polyurea and sprinkling the flecks while the surface was still wet. Once dry, he vacuumed up the excess flecks, before applying the final coat, which was the sealer. Up until that point, there had been little dust and almost no smell. The sealer has a powerful odour, however, and we are still airing it out.
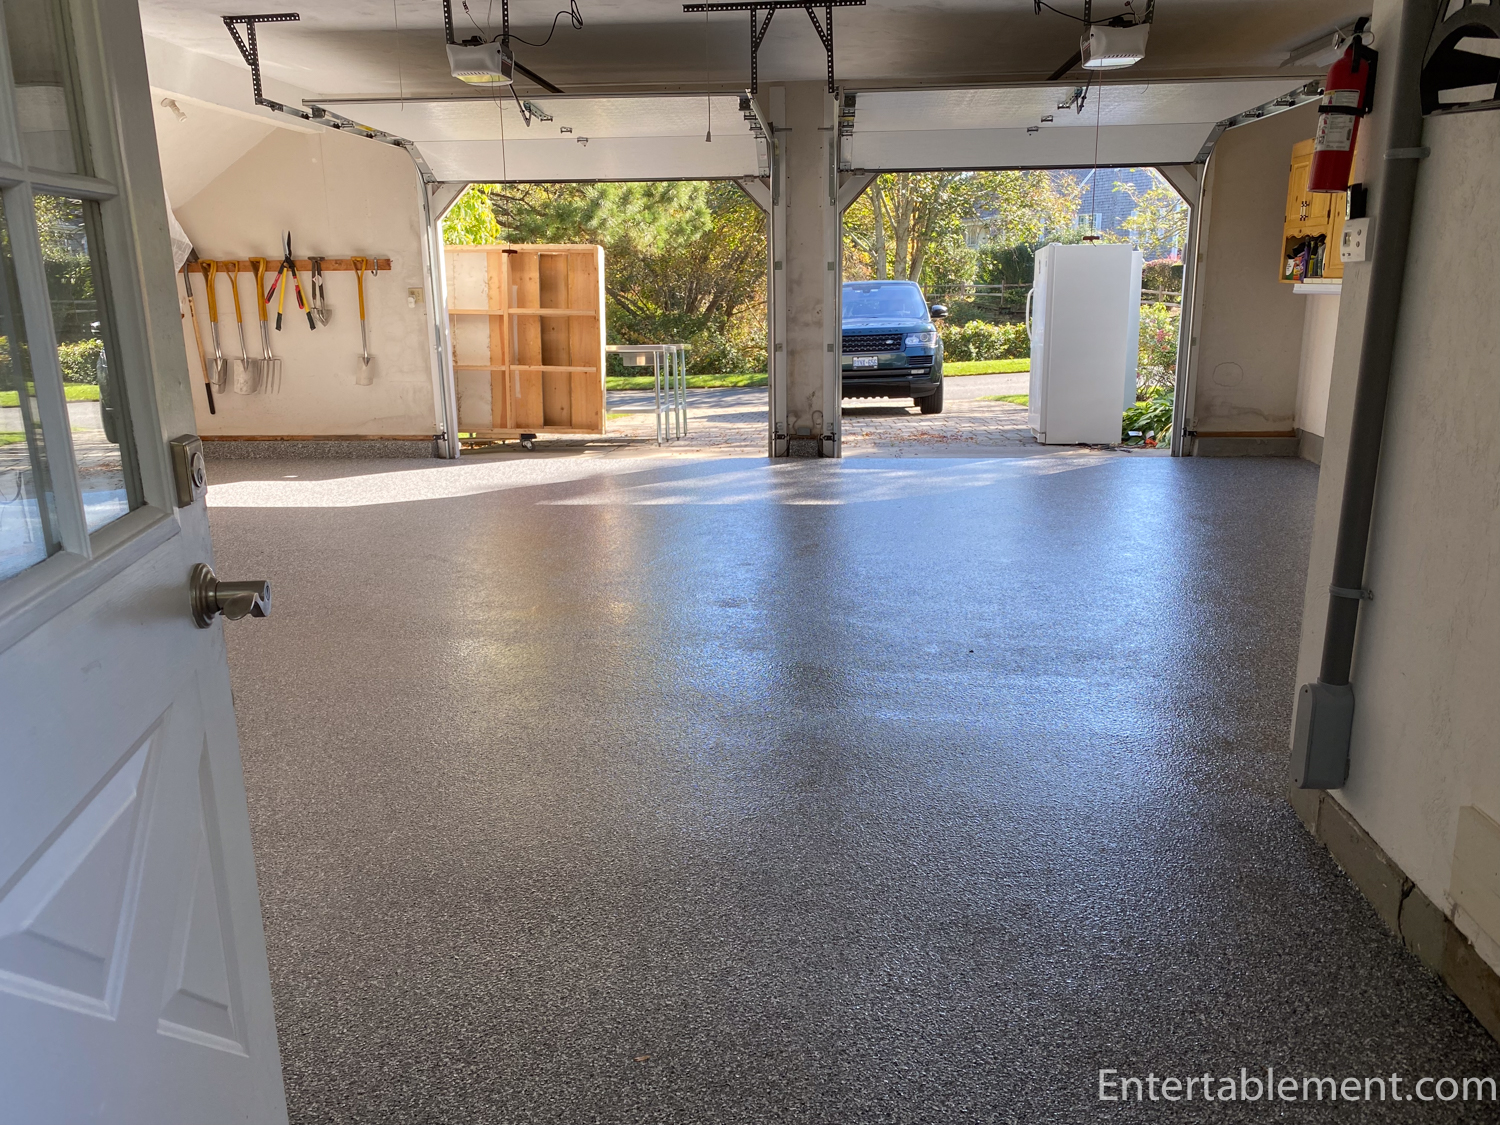
It’s dry enough to walk on in about 12 hours, and you can start putting things away in 24 hours. We decided to give it two full days, though—no point in rushing and risking scratching it. Our lovely neighbour Ed helped Glenn move the appliances in and out with an appliance dolly, helping him shift the heavy stainless tables and wooden steps. Next, I’ll put back the cabinets that hold all my candlesticks, vases, and lanterns. Thank you, Susan, from Between Naps on the Porch for the ideas on both the cabinets and the garage floor!
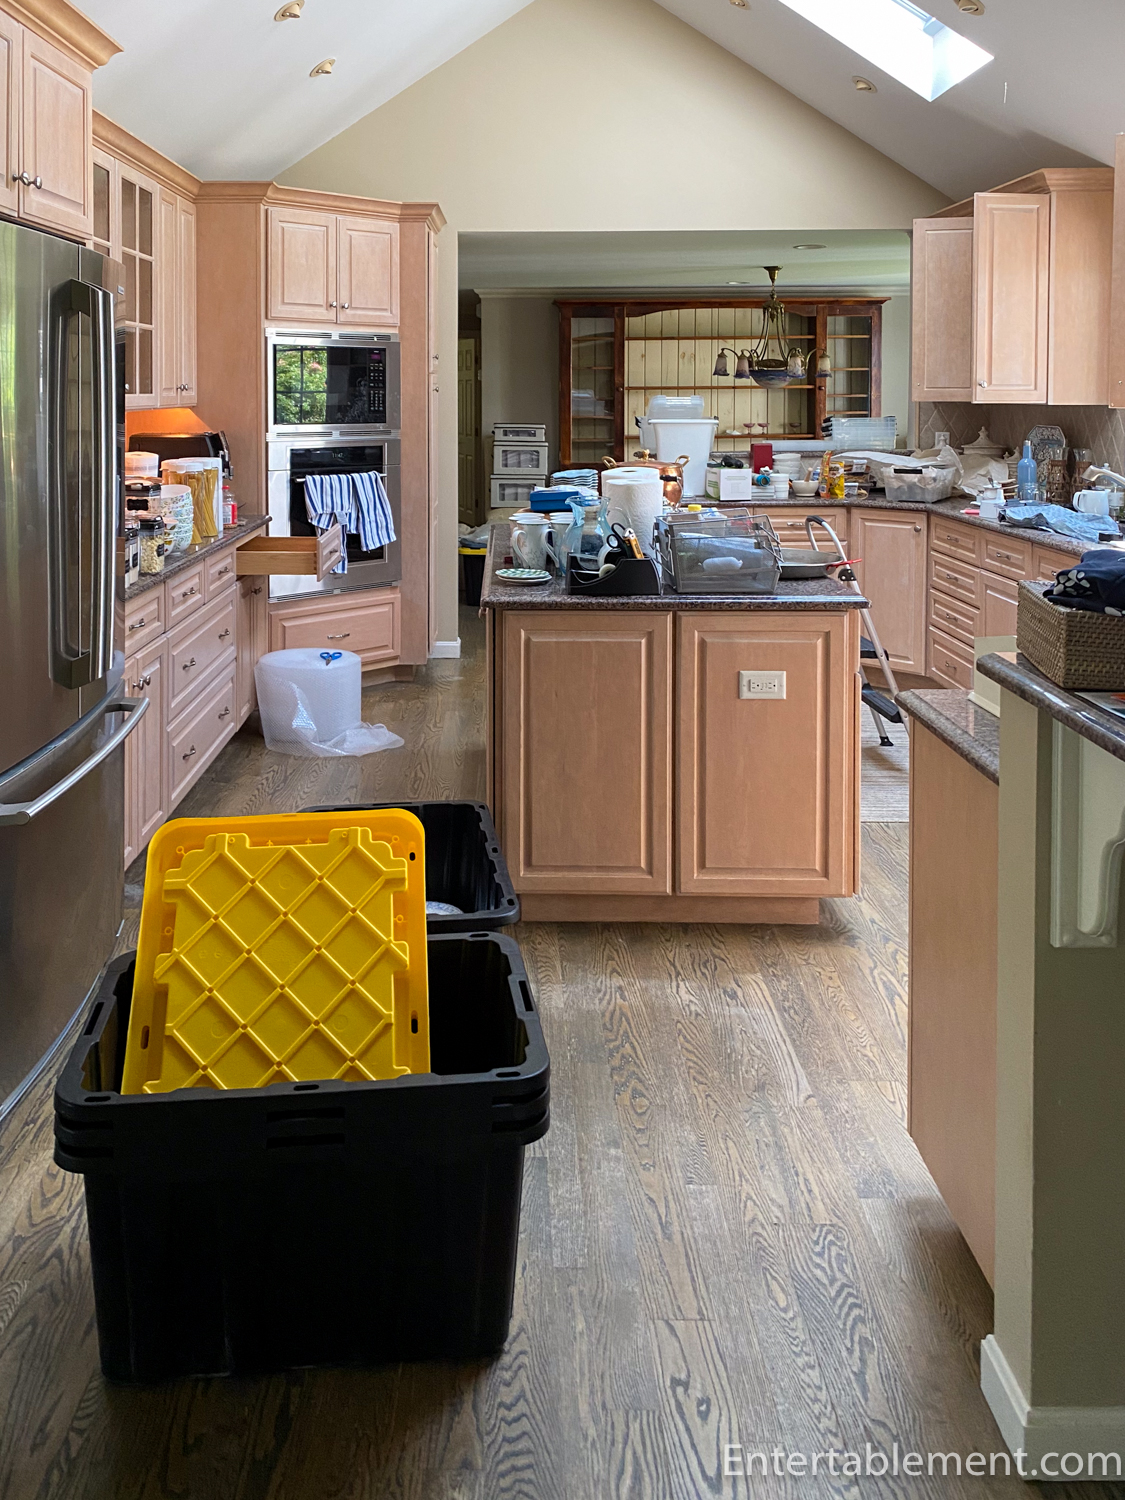
Next up––a kitchen and laundry room reno here on the Cape. We are waiting for a permit, but we have packed up the kitchen and dining room in the meantime. Glenn went off to Home Depot and picked up a bunch of stackable containers and a roll of bubble wrap. It’s much cheaper than getting in movers and less trouble than cardboard boxes.
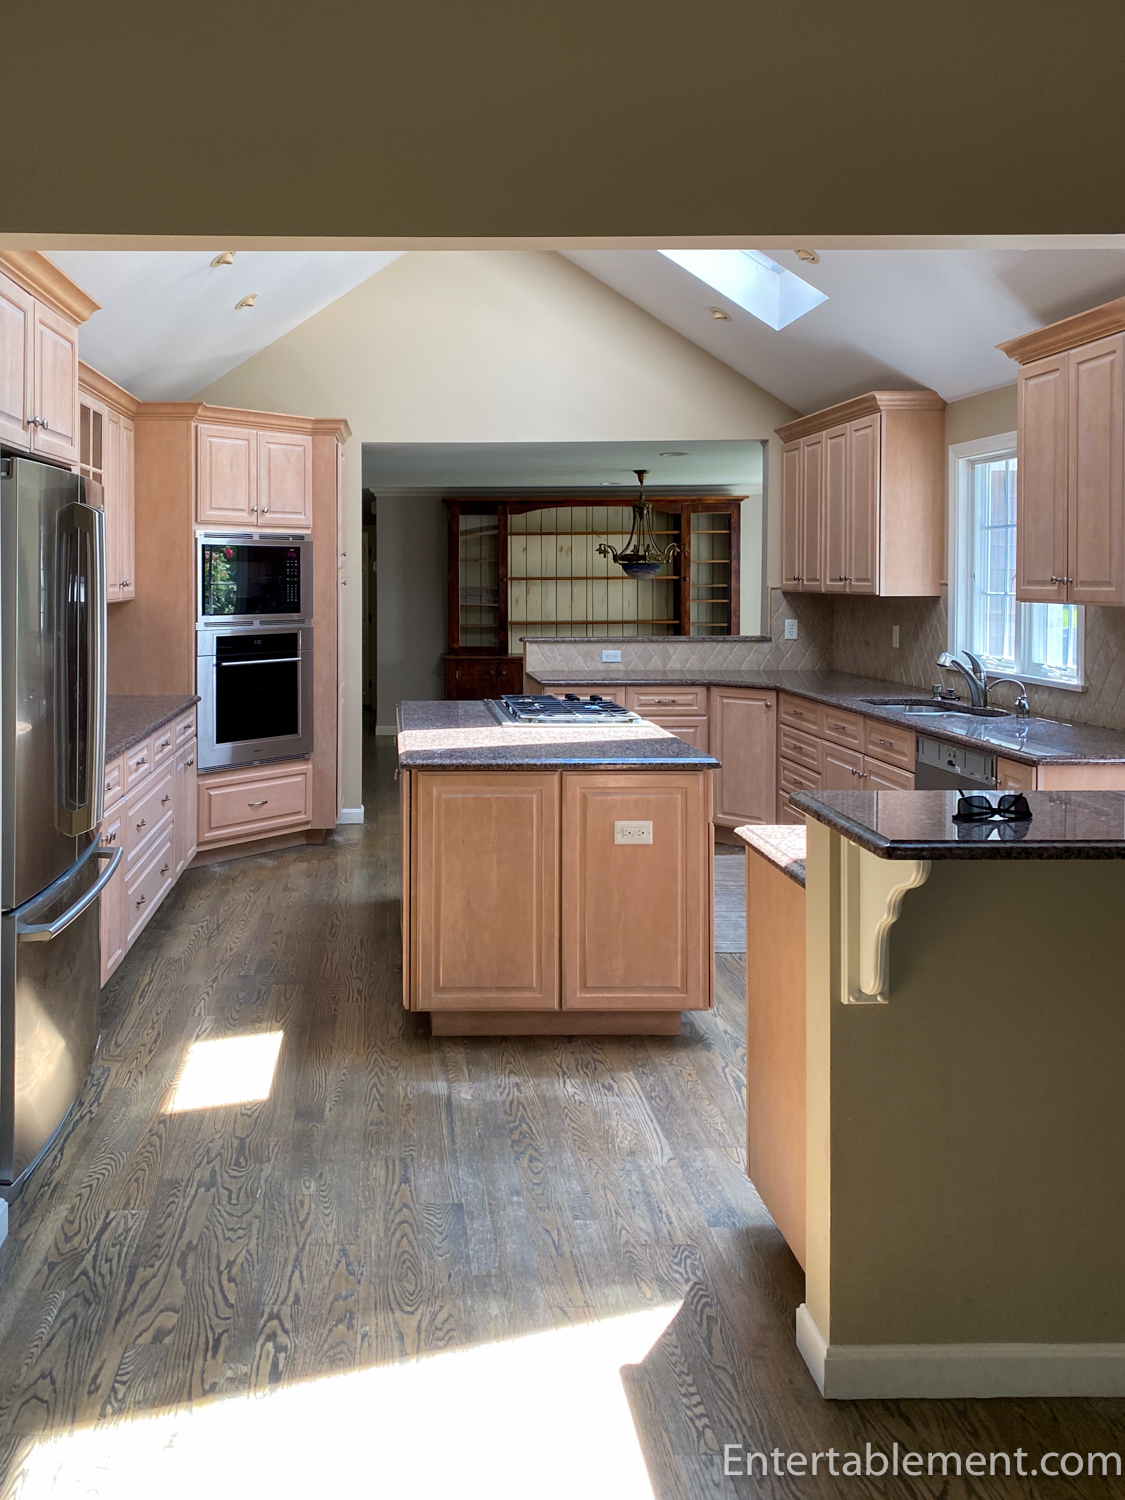
It’s empty!
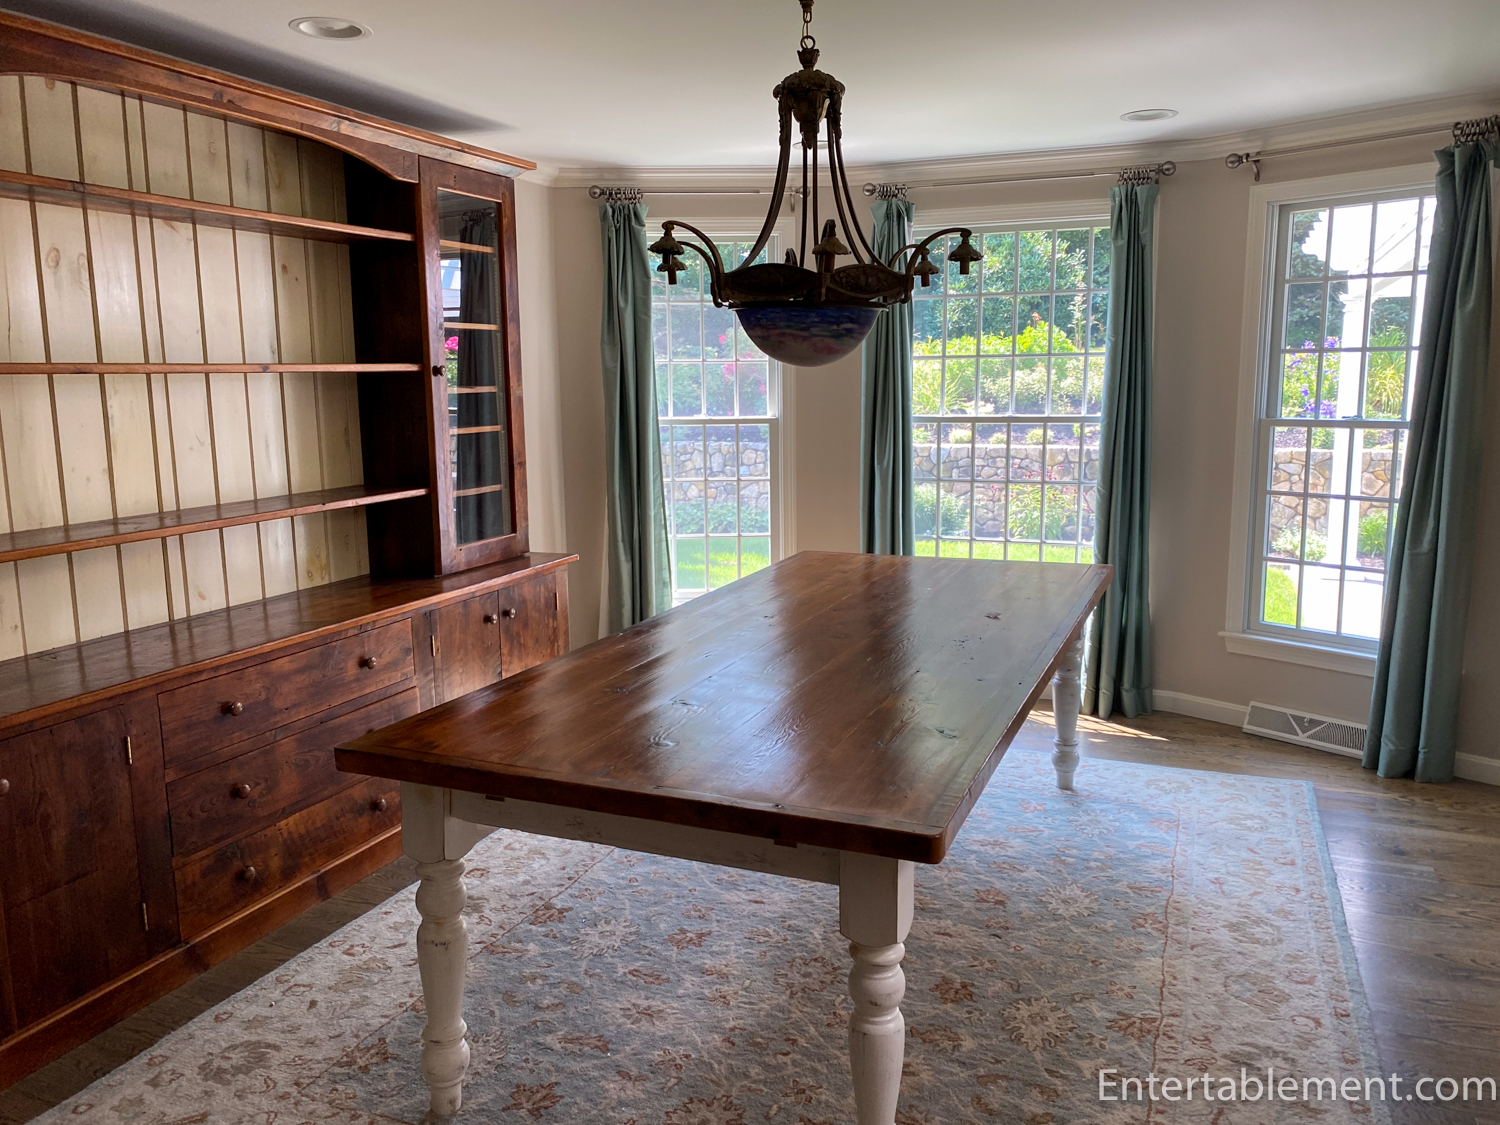
I used a couple of Household Essential wine glass boxes to take all the glassware from the china cabinet to the basement, before placing the glasses on shelves in an old cedar cupboard built by the previous owners. It involved many trips up and down, but it sure beat wrapping each glass in tissue paper and storing them in boxes. We removed the stained glass pendants from the chandelier but elected to leave the main fixture in place. It’ll be thoroughly wrapped in plastic before the renovation begins!
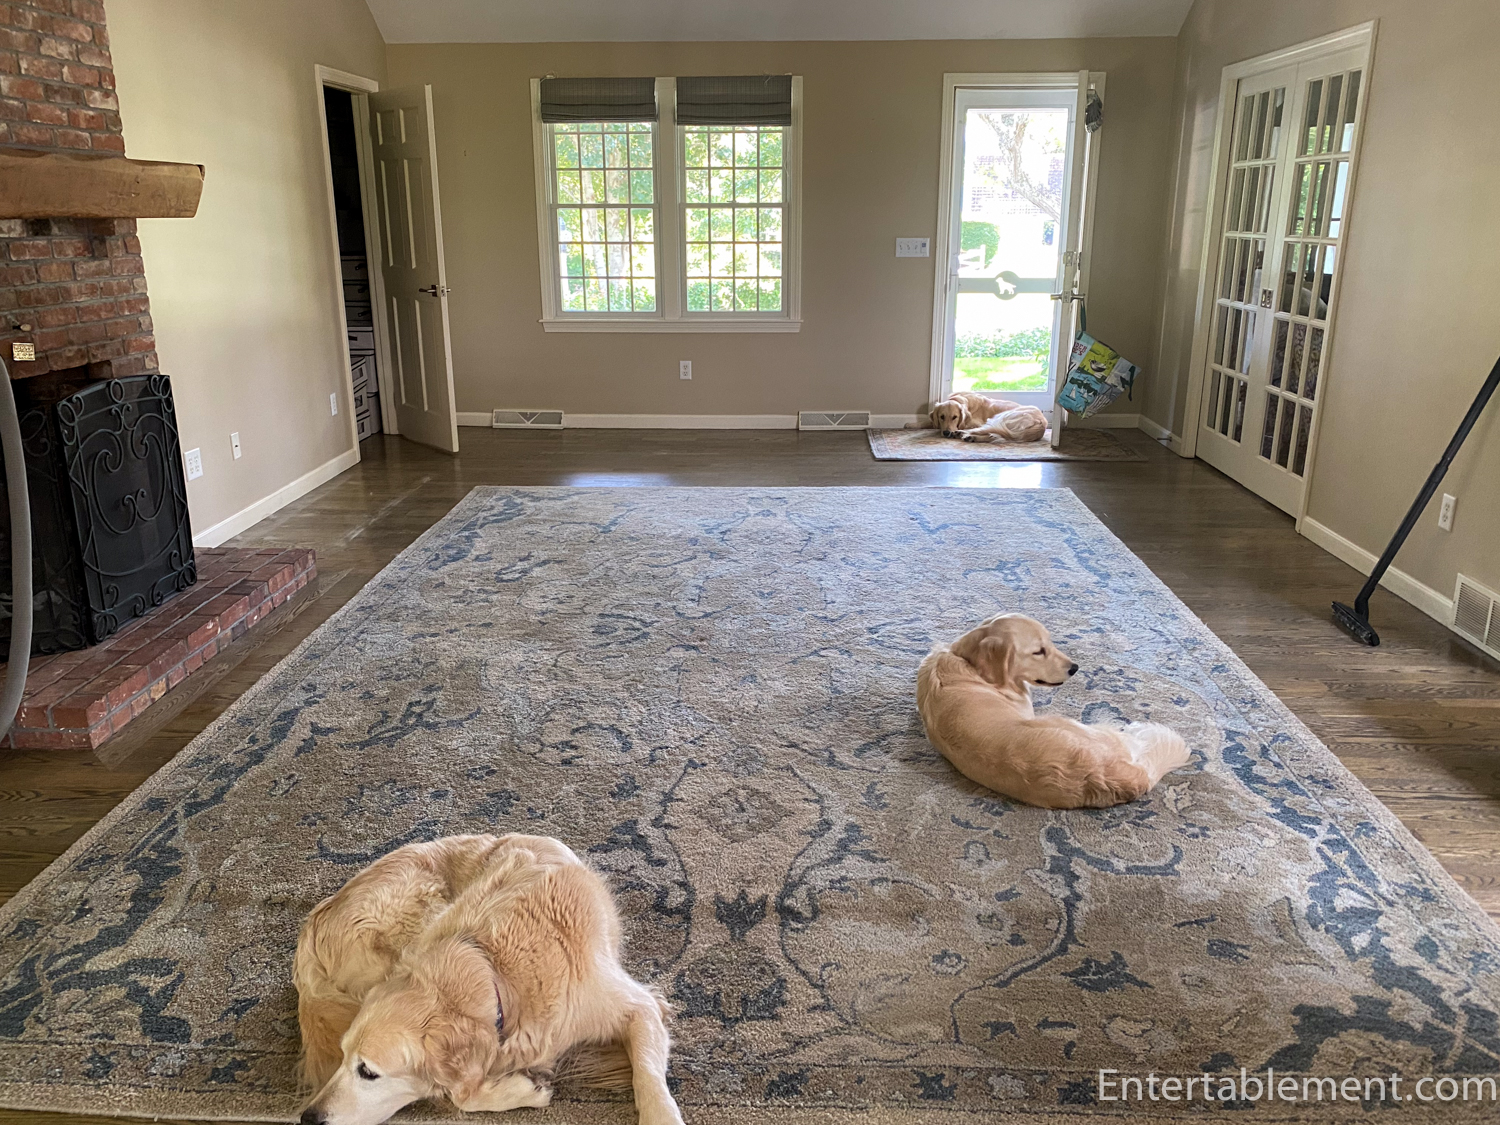
We pushed the furniture to one side of the living room and put all the kitchen and laundry room contents there. All the containers are labelled, which has been useful when we needed to dig out an item or two.

The dogs are thrilled to have such a large play area in the family room. The kitchen reno will necessitate the floors being refinished in here, so everything had to go.
We managed to get it all into the adjacent sunroom—even the dog bed.

Meanwhile, we are “camping”. Living with only a couple of mugs and plates is quite refreshing. We still have use of the kitchen until demolition begins; we are cooking very simply and using the BBQ a good deal. With luck, the permit will be here in the next week or so, at which point we will vacate. Wish us luck!


Speaking of dark ages, Howdy Doody came before Peanuts. My favorite is Lucy when she got mad and shuffled off saying “Somebody is going to pay for this!”
Love the Peanuts plates.
Hood luck with the renovations.
Thanks Myrna. Nice to meet another Peanuts fan!