
Ever since I laid my hands on “Hello, Cupcake!”, Irresistibly playful creations anyone can make, by Karen Tack and Alan Richardson, I’ve been dying to make the White Wreath.
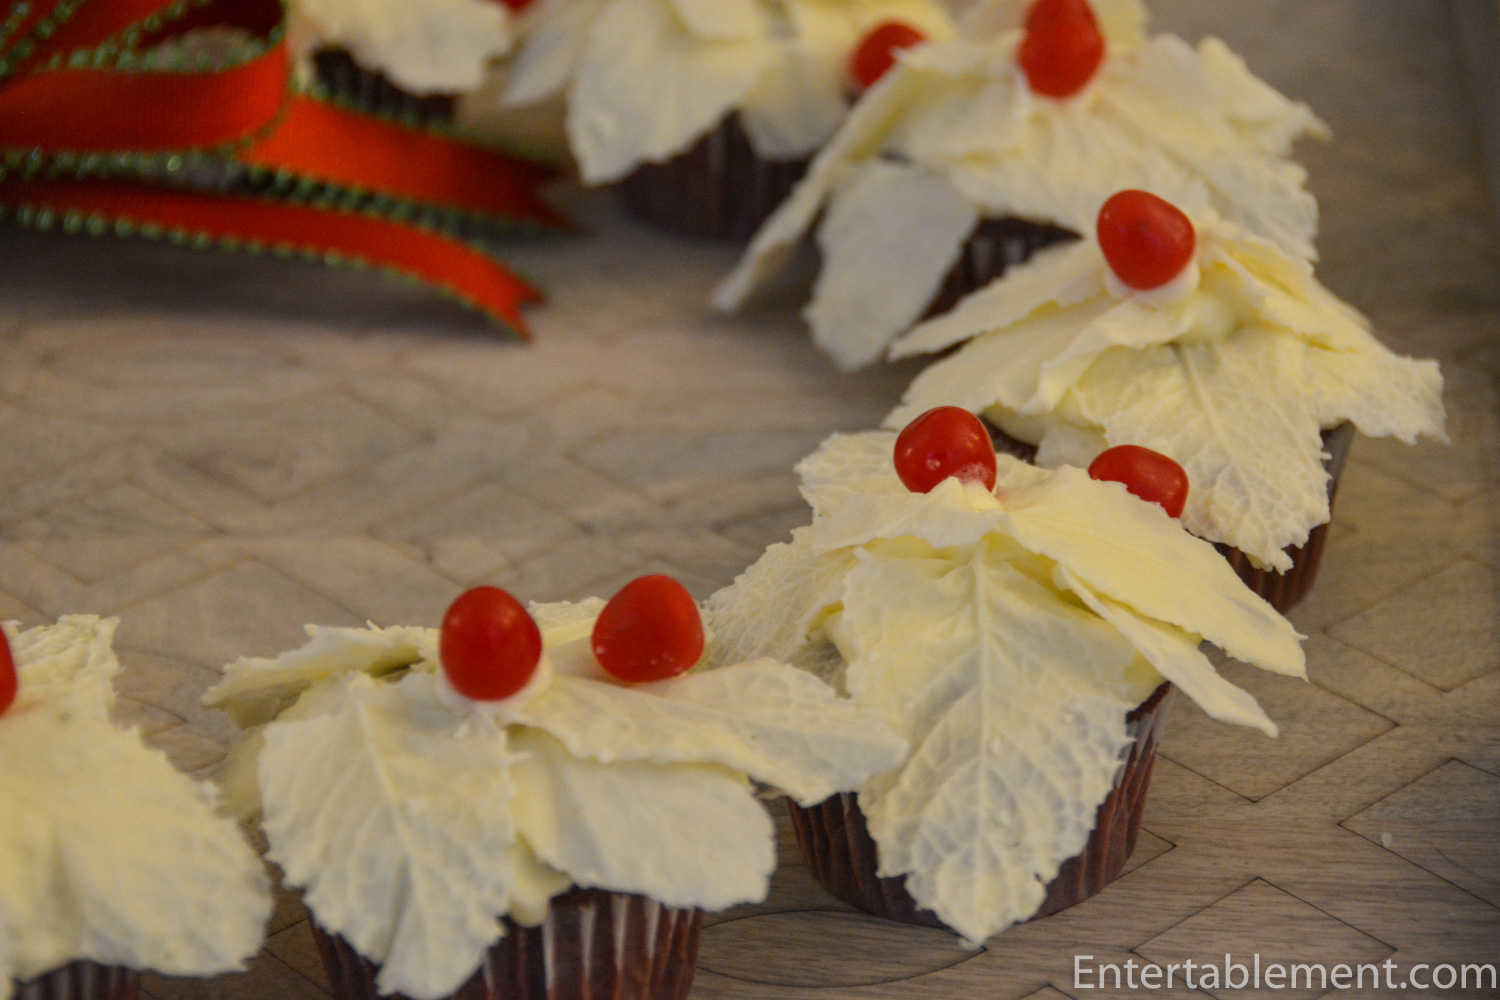
The project really is as easy as the blandishments in the book claim. The leaves are made by painting fresh mint leaves with melted white chocolate and letting it harden in the fridge for about 10 minutes. Removing the mint is incredibly simple, though a bit fiddly. You’ll need a pair of tweezers or a couple of toothpicks to pluck off any clingy shreds of mint. Press half a dozen mint leaves onto each frosted cupcake, add red candies of your choice and fabric bow. You’re done!

For this project, I will confess to using a red velvet cake mix. The Hello, Cupcake recipe calls for white cupcakes in silver wrappers, but I thought the red velvet might be a more colourful choice. Besides, I wasn’t keen on messing about with red food dye.
The box claimed to make 12 cupcakes. It made 20! I used standard-sized cupcake liners and a #20 (1.5 oz) ice-cream scoop to fill the liners. I find it the cleanest, easiest method to get uniformly sized cupcakes. I find that holding a saucer under the filled scoop while transferring it to the liner and then under the empty (still dripping scoop) on its journey back to the bowl keeps things dribble-free.

It was a very fun way to spend part of an afternoon. Even better was tucking up with a cup of tea afterwards and enjoying the fruits of my labour. Ronnie was happy to cuddle up by the fire and accept a few cat treats.


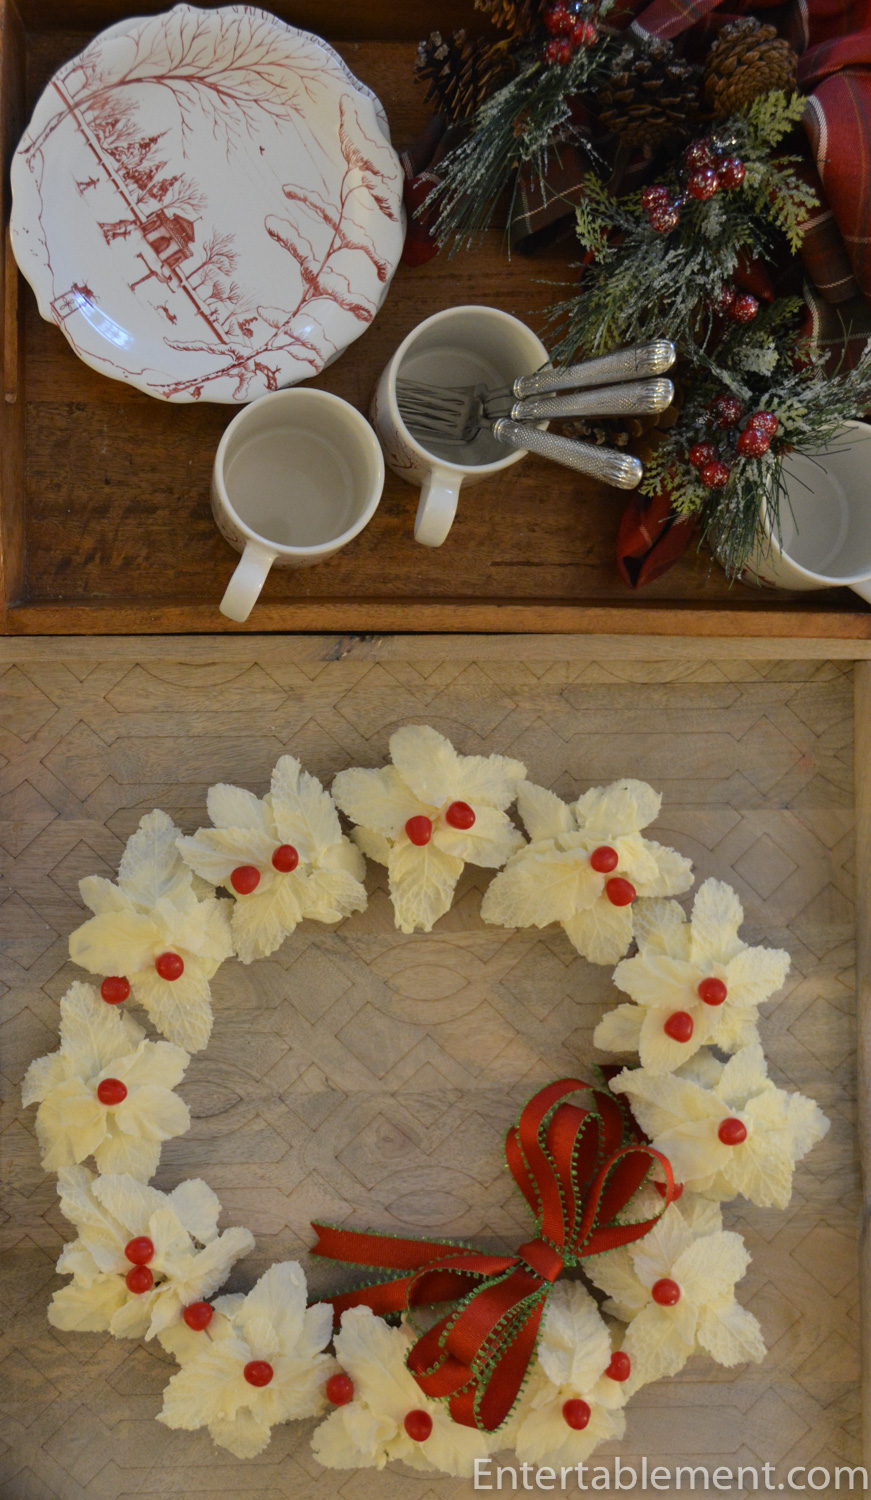
Winter White Cupcake Wreath
A elegant presentation for a dessert party or festive gathering. White chocolate leaves adorn red velvet cupcakes frosted with cream cheese icing.
- Yield: 12 1x
Ingredients
- 12 red velvet cupcakes in white liners (I used a cake mix)
- 80 mint leaves (60 large and 20 small) from two bunches of fresh mint
- 340 g (12 oz) white chocolate melting wafers
- 113 g (4 oz) unsalted butter, at room temperature
- 227 g (8 oz) cream cheese, at room temperature
- 2 tsp vanilla
- 227 g (8 oz or 2 c) confectioners’ sugar, sifted
- 40 red candies
- 1 decorative ribbon
Instructions
Make the frosting
- Using an electric mixer, beat the butter and cream cheese on medium-high speed until fluffy and light in color (2 minutes). Beat in the vanilla. Gradually beat in the sifted confectioners’ sugar and continue beating until fluffy (3-5 minutes).
Assemble the cupcakes
- Line two large cookie sheets with wax or parchment paper. Pluck the mint leaves from the stems. Wash and pat dry with paper towels.
- In a medium bowl, microwave the white chocolate wafers until smooth, stirring frequently (about 1 minute).
- Using a small, clean craft brush (or your fingertip) coat the top side of each mint leaf with an even layer of the melted chocolate. Transfer to one of the lined cookie sheets, chocolate side up, and allow the leaf to bend and curve slightly. Repeat with the remaining leaves. If the chocolate thickens too much, reheat in the microwave for a few seconds, stirring well. Place the leaves in the fridge to set (about 10 minutes).
- Carefully peel the leaves from the hardened chocolate. You’ll be surprised at how easily it comes off, though you may need to remove some small pieces of lingering mint with tweezers or toothpicks. (You can make the leaves up to 5 days in advance. Keep covered in a cool, dry place until ready to use.)
- Spoon about 1/4 c of the icing into a pastry bag or small ziplock bag. You’ll use it to dot on the icing for the red berries once the leaves are in place. Set aside. Use the remaining icing to spread across the top of the cupcakes.
- Press about six chocolate leaves onto each cupcake, orienting them in the same direction. Snip the tip of the icing bag or the corner of the ziplock bag and pipe dots of frosting randomly over the leaves to attach the red candies. Arrange the cupcakes on a platter or tray and place the red bow.
I’ve got my eye on a couple more projects from Hello, Cupcake, which I may get to before Christmas. If not, next year!

I’m sharing this post with Between Naps on the Porch.


Wow, this looks delish…and spectacular! And your home is beautiful! Happy Holidays Helen!
Thanks, Gary! Happy Holidays to you, as well!
Dear Helen,
Wish I had troops to feed, and not just us two…making this would be fun. As kids we used to make chocolate leaves using camellia and lemon leaves, but mint looks really lacy and delicate, if a bit fussier. I can’t wait to have a cozy Christmas like your pictures…in the subtropical South, it’s very hard to get in the spirit! Please keep the ideas coming. My bags are packed.
I’ve often wondered how people in warmer climates get into the festive spirit. I imagine it is challenging surrounded by warm-weather flora. Odd, really, when you think how much of the world doesn’t see snow, that Christmas is so broadly characterized as “winterish”.
Greetings Helen,
that looks so delicious and just too beautiful. to eat. And your home looks so cozy.
Thanks, Patricia!
The cupcakes are beautiful. It will be fun to see other projects from the book as you do them. Merry Christmas!
Hi Lorri!
I hope Christmas preparations are going well at your house. I’m so glad you stopped by. 🙂
I made snowmen cupcakes from the book yesterday. I’d baked the cupcakes the previous week and frozen them, and a good thing, too! It took a looooong time for this project. They turned out well and went down the hatch in no time flat. Glad I got pictures! I’ll show them next week.
Have a good weekend.
Best,
Helen
How pretty! The white chocolate leaves are a lovely surprise, and I agree with Patricia that it’s too pretty to eat. But I’d make the sacrifice! 🙂 Thanks for yet more holiday inspiration!
I’m not a huge fan of white chocolate, but these were good. Surprisingly easy to make, too. I can’t wait to try the multicolored version using small maple leaves on chocolate cupcakes next fall. Yum!